
How to Use a Bubble Level (and Your Phone as One)
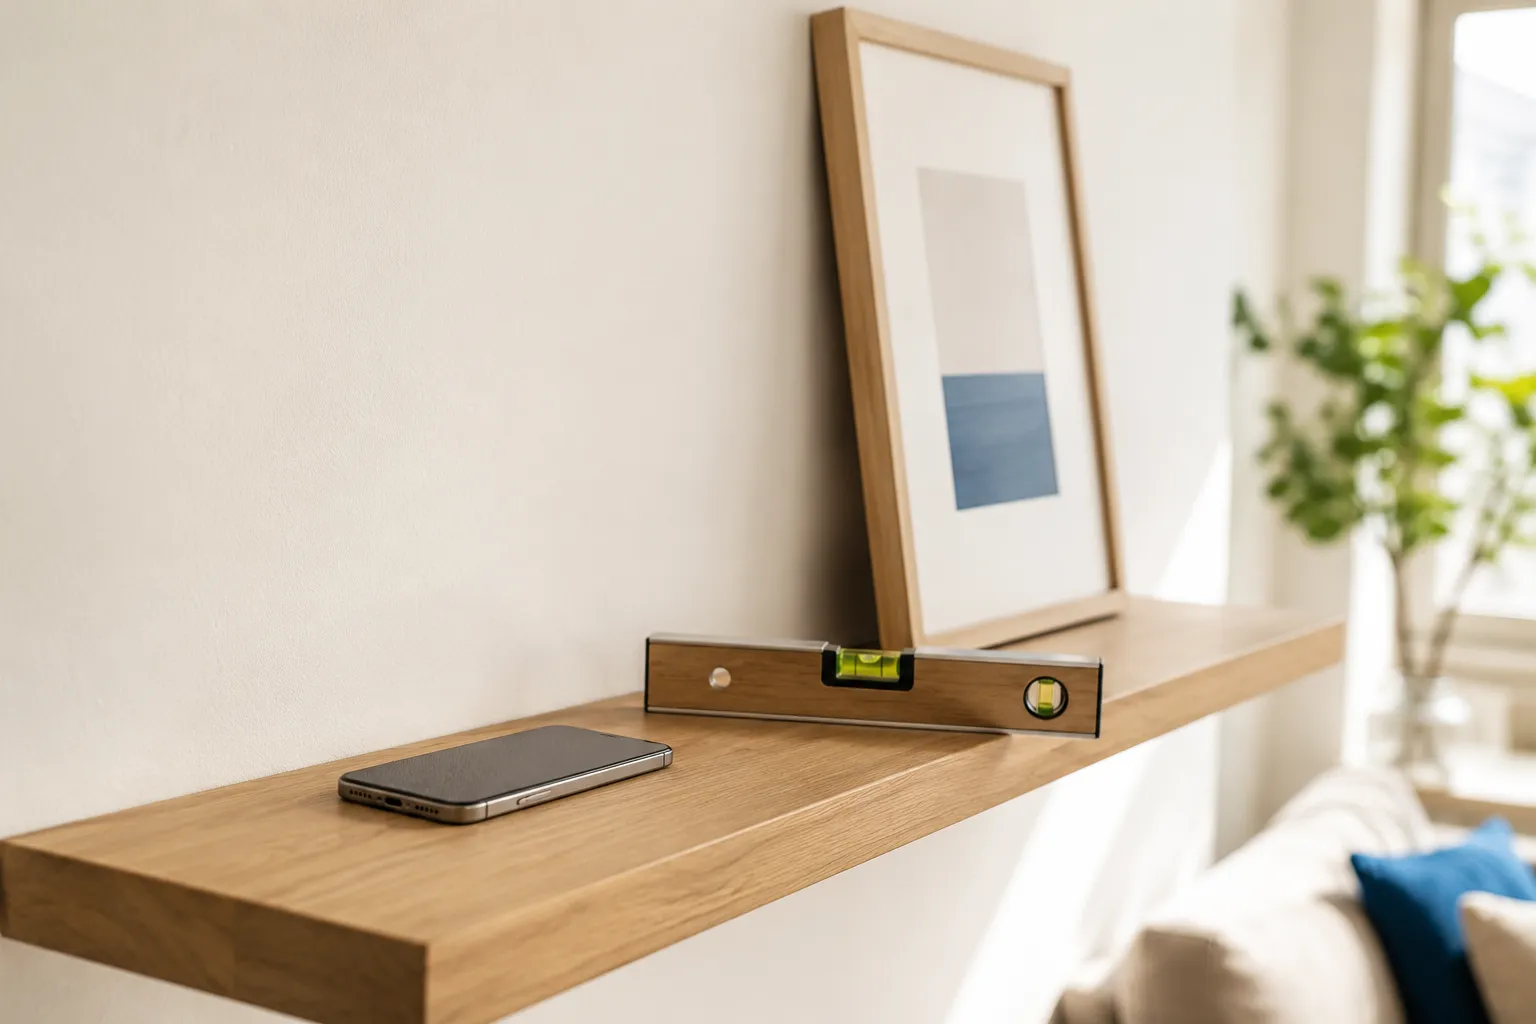
How a bubble level actually works
A bubble level — also called a spirit level — is a sealed glass or plastic vial filled almost full with liquid, leaving one small air bubble inside. The vial is slightly curved, so the bubble always floats to the highest point. Two lines are etched around the middle of the vial, and when the surface underneath is perfectly flat, the bubble settles exactly between those two lines.
The “spirit” in the name comes from the alcohol traditionally used as the liquid — it stays runny in the cold and lets the bubble move freely. That’s all there is to it: no battery, no electronics, just gravity pulling liquid downhill and pushing the bubble up.
Because the bubble reacts to gravity, a level only tells you about a surface relative to the earth. It can’t measure the angle between two random lines the way a protractor does — it answers a narrower, more useful question: is this flat?
Level vs. plumb: which vial to read
Most levels have at least two vials, and picking the right one is the part people get wrong.
- Level means perfectly horizontal — a shelf, a countertop, a picture hanging straight. You read the vial that runs along the length of the tool, the long horizontal one.
- Plumb means perfectly vertical — a door frame, a fence post, the edge of a cabinet. You read the vial mounted across the end of the level, the one that lines up when you hold the tool upright against a wall.
Many levels add a third vial set at 45°. The rule is simple: whichever vial is oriented the same way as the thing you’re checking is the one to read. Hold the level flat for level, stand it on end for plumb.
How to actually use one
- Wipe the surface and the level. A crumb or sawdust grain under the edge will throw the reading off.
- Set it down flat. Rest the full length of the level on the surface — don’t balance it on a corner or let it bridge a gap.
- Look at the vial straight on. View it head-on, not at an angle, or parallax will make the bubble look off-center when it isn’t.
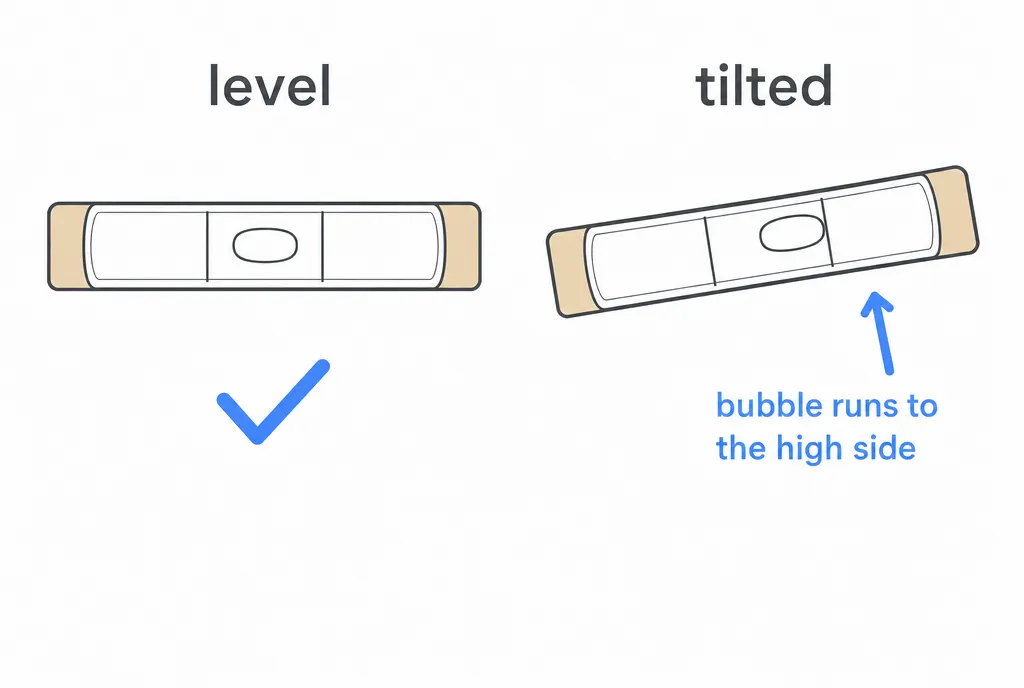
- Read the bubble. Dead center between the two lines means you’re level (or plumb). Drifted to one end means that end is high.
- Adjust toward the low side. Shim, tilt, or push down the high end until the bubble walks back to center. Re-check after every adjustment.
The direction the bubble drifts is the clue: it floats to the high side, so you always lower that side (or raise the opposite one).
What the bubble can’t tell you
Here’s the honest limitation: a bubble level gives you a yes or no, not a number. The bubble is either between the lines or it isn’t. Once it’s off-center, you can see that you’re tilted, but the vial won’t tell you whether you’re 1° off or 5° off — and that matters when you need to shim a leg by a precise amount or compare two surfaces.
A digital level fills that gap. Instead of a floating bubble, it reads gravity electronically and shows the exact tilt in degrees. That’s the difference between “this is high” and “this is high by 2.3°,” which turns guesswork into a measurement you can act on.
Your iPhone has the sensors to do exactly this. The accelerometer that senses which way is down is the same one behind a digital level — and if you want the full picture of how the phone turns gravity into a reading, we walk through it in how it works.
Using your iPhone as a digital level
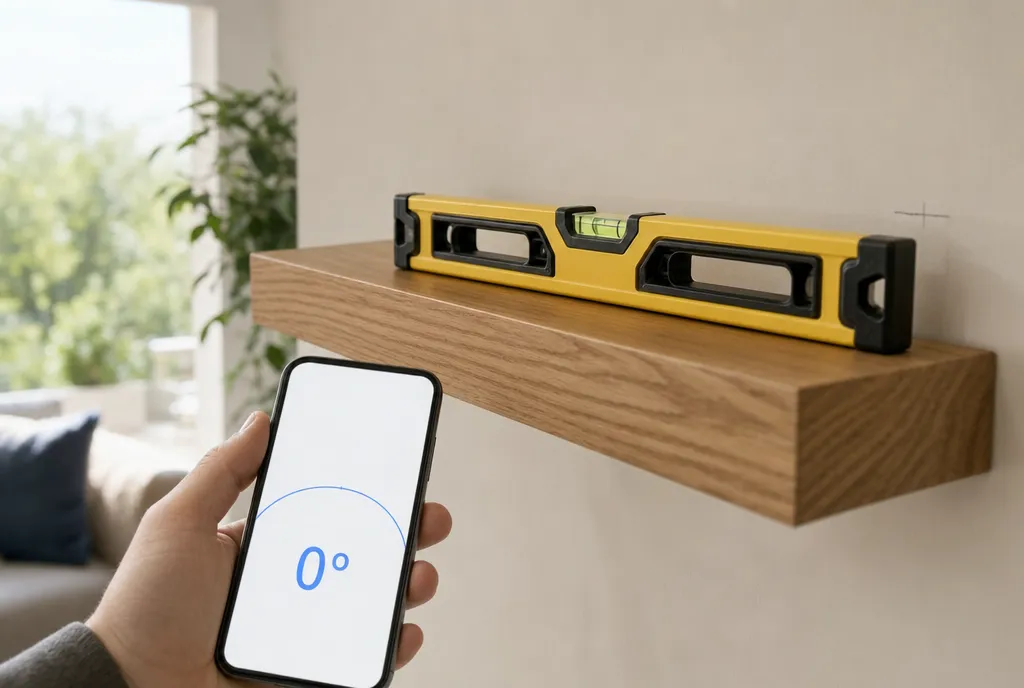
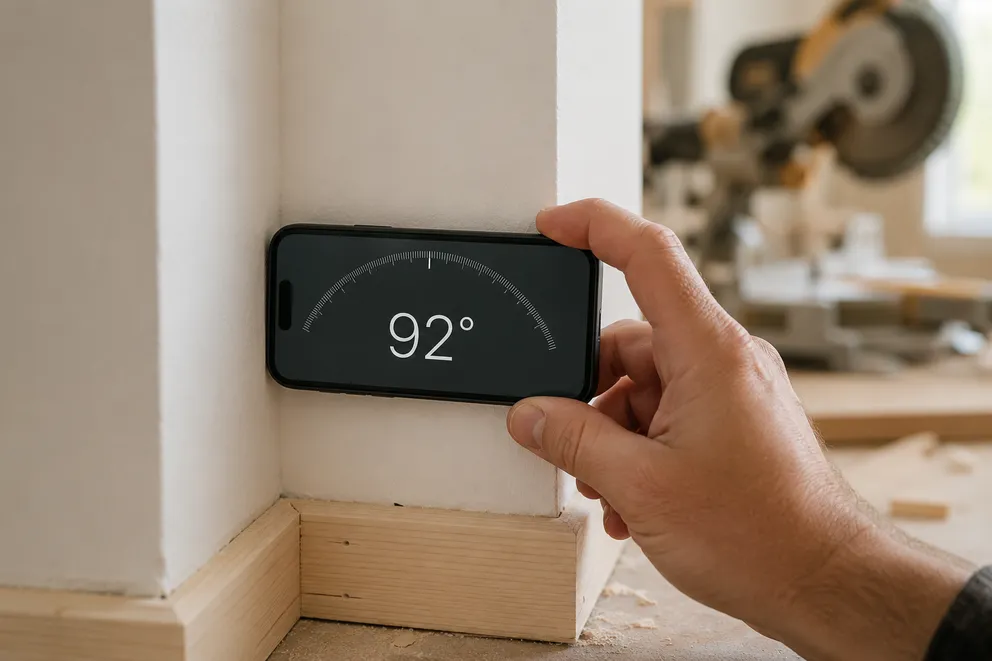
To check level, lay the phone flat on the surface, screen up, and read the angle. Zero degrees means dead level; any other number is exactly how far off you are. To check plumb, hold the phone flat against the vertical surface instead. The same readout works for measuring a ramp or a roof line, which we cover in how to measure slope and incline.
Calibrate first. Set the phone on a surface you’ve confirmed flat with a trusted level, then reset the zero so the app treats that as 0°. Skipping this is the most common reason a phone reads a degree or two off. Once calibrated, an iPhone is good to roughly a degree — fine for shelves, frames, furniture, and most home jobs. For masonry, machining, or precision layout, reach for a quality spirit level or laser; don’t trust a phone for work where a fraction of a degree counts.
A worked example: hanging a shelf straight
Say you’re mounting a shelf and want it dead level.
- Set the shelf bracket roughly in place and rest your level (or flat iPhone) on top of it.
- Read it. With a bubble, you’ll see it drift — say, toward the right, meaning the right side is high. With the phone, you’ll see something like 1.8° and know precisely how far to drop it.
- Lower the high side and re-check. Mark the screw holes only once the bubble centers or the readout hits 0.0°.
The same routine straightens a picture frame: hang it, set the phone along the top edge, and nudge until it reads zero. The bubble tells you when it’s right; the degree readout tells you how much to move — together they get it straight on the first try.
Frequently asked questions
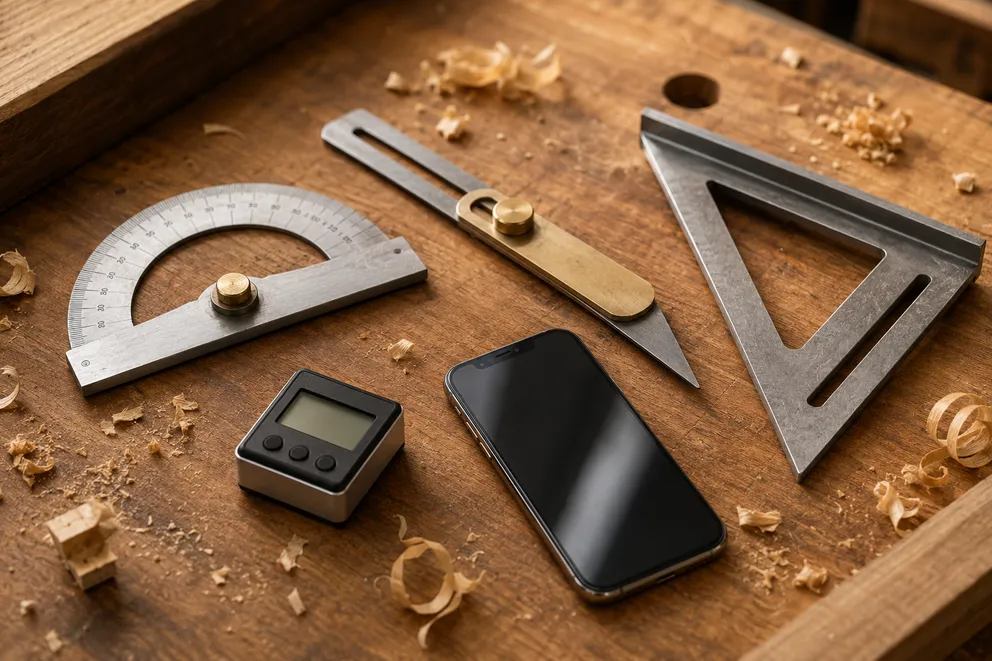
Angle Measuring Tools Compared: Which One Do You Need?
What each angle measuring tool does best — protractor, T-bevel, speed square, digital angle gauge, phone app, online protractor — and how to pick one.
How to Measure the Angle Between Two Walls
Three ways to measure the true angle between two walls — phone with zeroing, T-bevel and protractor, or camera mode — and turn it into the right miter cut.
Measure any angle,
right from your pocket.
Protractor turns your phone into a precision angle finder, level and inclinometer. Measure anything, anywhere.
Download the App