
How to Use a Protractor: Measure, Read and Draw Angles
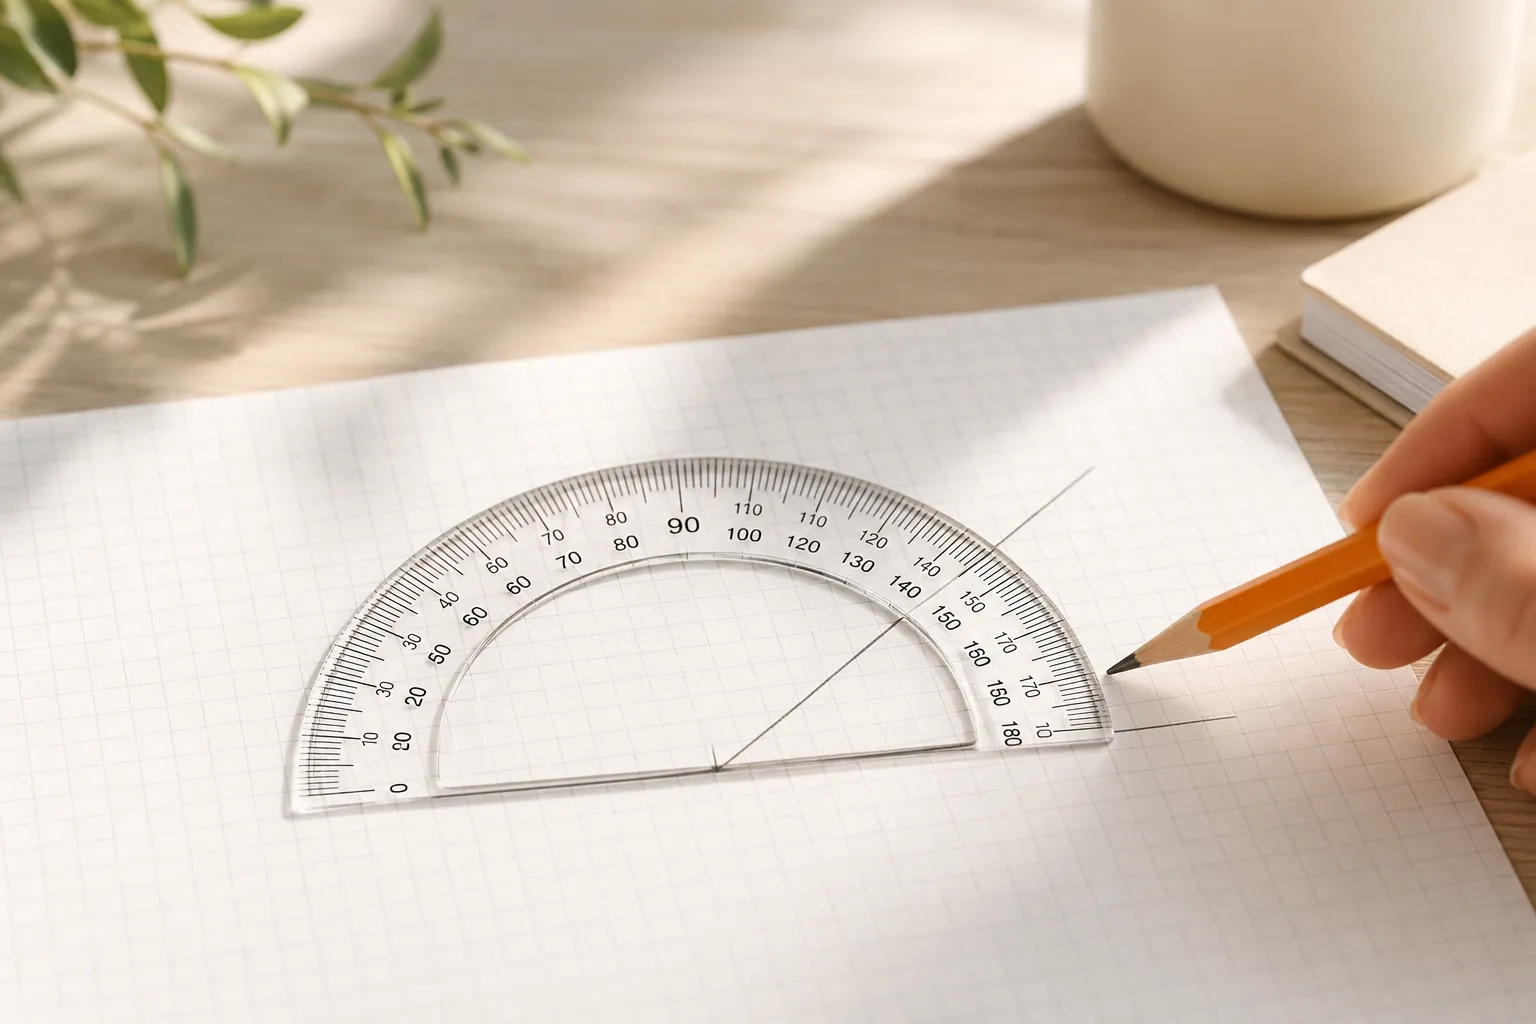
The parts of a protractor
Every reading on a protractor comes from four features, so it is worth naming them once:
- Baseline (or base edge). The straight bottom edge. The 0°–180° line runs along it.
- Origin (centre mark). A small hole, notch or crosshair on the baseline, halfway along. Every angle is measured from this point, not from the bottom-left corner of the plastic and not from the edge of the arc.
- Outer scale. The row of numbers nearest the curved edge. On most protractors it runs 0° on the right up to 180° on the left.
- Inner scale. The second row, running the opposite way: 0° on the left, 180° on the right. The two rows exist so you can measure an angle that opens to the left just as easily as one that opens to the right. At any point on the arc the two numbers add up to 180°.
Between the numbers are the tick marks: on a normal 4-inch or 6-inch protractor each small tick is 1°, a slightly longer tick marks every 5° and the longest ticks carry the numbers every 10°. A dashed line usually runs from the origin up to the 90° mark; that is your square-corner reference.
How to use a protractor to measure an angle
- Find the vertex and extend the rays if you need to. The vertex is the point where the two lines meet. If the lines are drawn short — common on worksheets — lightly extend them with a ruler so they reach past the edge of the protractor. The angle does not change when you lengthen its sides.
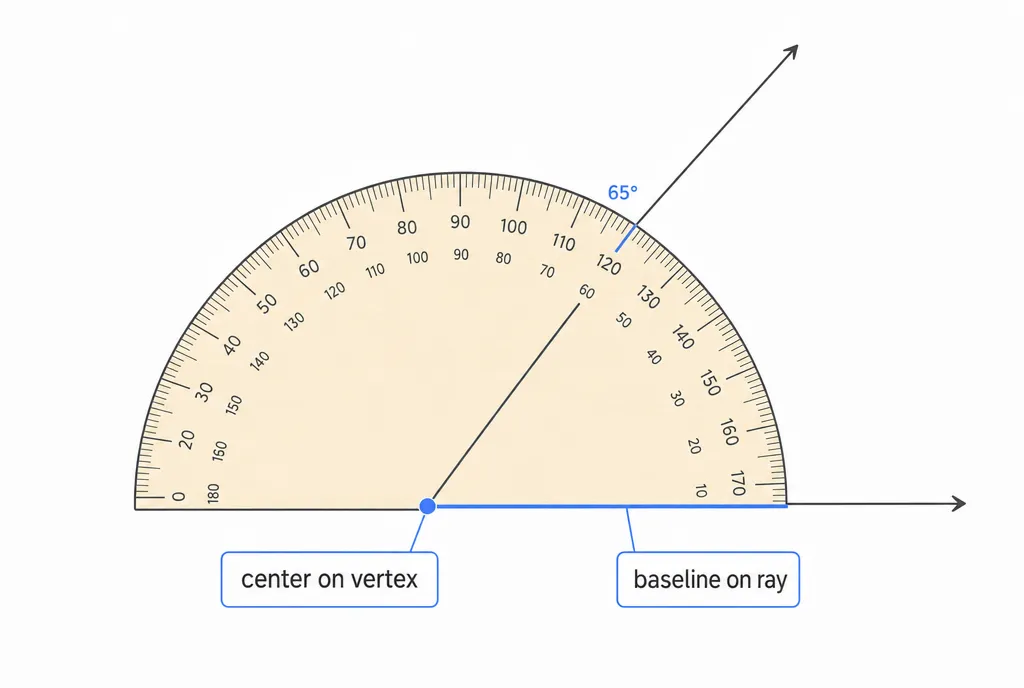
- Put the origin on the vertex. Set the small hole or crosshair exactly on the vertex point. Look straight down at it; if the origin sits even a millimetre off, every reading afterwards is off too.
- Lay the baseline along one ray. Keeping the origin on the vertex, rotate the protractor until the 0° line runs exactly along one of the rays. Pick the ray that lets the other ray fall under the arc — if the second ray runs off below the baseline, flip the protractor over or start from the other ray.
- Follow the second ray out to the scale. Trace it from the vertex to where it crosses the curved edge. Two numbers sit at that spot, one from each scale.
- Read the scale that starts at 0° on your baseline ray. If the baseline ray points to the right and the outer scale shows 0° there, read the outer scale. If it points left, read the inner scale. Then count the 1° ticks from the nearest labelled ten.
- Check it against a square corner. Is the angle visibly narrower than a right angle? The number must be below 90. Wider? Above 90. If the number disagrees with your eyes, you read the other scale — take 180 minus your reading and you have the true angle.
That last step is the one most tutorials skip, and it is the one that catches nearly every mistake. Angles narrower than a square corner are acute (under 90°), wider ones are obtuse (90° to 180°), and a straight line is exactly 180°. Decide which kind you are looking at before you read the number and the wrong scale can never fool you.
Inner or outer scale: the one rule
The rule is simply: read the scale whose 0° sits on the ray you aligned with the baseline, and keep following that same scale around to the second ray.
A quick way to check without thinking about left and right: the two numbers at the crossing always add up to 180°. Pick the one that matches the acute/obtuse judgement you made by eye. For a 65° angle you will see 65 and 115 at the crossing; the angle is obviously narrower than a right angle, so 65 it is.
How to read a protractor between the numbers
Suppose the ray crosses the arc somewhere between 40 and 50 on your scale. Start at 40 and count the small ticks in the direction your scale’s numbers grow until you reach the ray. Three ticks past 40 is 43°; the longer mid tick is 45°; three past that is 48°.
Two habits improve precision on paper:
- Look straight down at the crossing. Reading from an angle shifts a thick line by a degree or two (parallax). This matters most on small 4-inch protractors, where 1° is under a millimetre of arc.
- Read at the curved edge, not the number row. The ray should be traced to the outer edge where the ticks are. Numbers are printed a few millimetres inward and lines drawn slightly off-vertex diverge from the true angle as they go in.
Most school protractors are honestly good to about ±1°. If you need better than that on a physical object, that is a job for a digital angle gauge or a phone’s tilt sensor, not a finer pencil.
How to draw an angle with a protractor
Drawing is the same procedure run backwards. To draw a 40° angle:
- Draw the first ray. Rule a straight line and mark the vertex at one end (or anywhere along it, if you want the angle in the middle of a diagram).
- Seat the protractor. Origin on the vertex, baseline along the line you just drew. Decide which way the angle should open and make sure the arc is on that side.
- Mark the target degree. On the scale that reads 0° on your line, find 40 and put a small pencil dot right at the curved edge.
- Draw the second ray. Lift the protractor and rule a line from the vertex through the dot. Extend it as far as you need — the angle is 40° regardless of length.
- Check it. Put the protractor back on and read the angle you drew. 40° is acute, so the reading must be under 90.
For angles over 90° the steps are identical; just remember the dot goes on the same scale you started from, past the 90° line. To draw a 120° angle with 0° on the right, the dot goes at 120 on the outer scale, which is the same spot the inner scale calls 60.
How to measure a reflex angle (over 180°)
A half-circle protractor stops at 180°, so a reflex angle — anything between 180° and 360° — needs one extra step. Two ways, both exact:
Subtract from 360°. Every reflex angle has a small angle on the other side of the same two rays, and together they make a full turn. Measure the small one normally, then subtract from 360°. A gap of 110° means the reflex angle is 250°.
Extend a ray and add 180°. Rule one ray straight through the vertex and out the other side. That straight line is 180°. Now measure the remaining wedge between your extension and the second ray, and add it to 180°. For the same 250° angle that wedge is 70°.
If you have a 360° protractor (a full circle), set the origin on the vertex, 0° on one ray, and read the reflex angle directly off the single scale. The printable protractor page includes a full-circle version alongside the usual half-circle.
Common protractor mistakes and how to avoid them
- Reading the wrong scale. The classic. The result is 180° minus the real angle: 115° for a 65° angle. Fix: decide acute or obtuse by eye first, and always read the scale that starts at 0° on your baseline ray.
- Origin off the vertex. Placing the corner of the protractor, or the bottom edge of the arc, on the vertex instead of the centre mark. Even a small offset changes the reading, and it changes it more for short rays. Fix: look straight down and put the hole on the point.
- Baseline not on the ray. The 0° line has to lie exactly along the first ray, not roughly parallel to it. A 2° tilt in the protractor is 2° in your answer. Fix: check that the ray runs along the baseline on both sides of the origin.
- Rays too short to reach the scale. Guessing where a stubby line would hit the arc adds error. Fix: extend the rays with a ruler before you measure — extending never changes an angle.
- Counting ticks the wrong way. Between 40 and 50, counting backwards from 50 when your scale increases toward 50. Fix: count from the lower labelled number in the direction that scale’s numbers grow.
- Parallax on thick lines. Fix: eyes directly above the crossing, and read at the outer edge.
- Forgetting the 360° subtraction on reflex angles. Fix: if the angle opens more than a straight line, measure the small side and subtract from 360°.
Half-circle vs full-circle protractors, and other types
- 180° (semicircular) protractor. The standard school tool: cheap, small, two scales, sometimes with a ruler along the base. It handles every angle up to 180° and reflex angles with one subtraction.
- 360° (circular) protractor. A full disc with a single scale, used for drafting, navigation and bearings. Reflex angles read directly and there is no inner/outer confusion, but the disc covers more of your drawing.
- Swing-arm or bevel protractor. A protractor with a hinged straightedge. You clamp the arm to the second ray and the pointer gives the angle — handy for transferring angles to a saw or a workpiece.
- Clear vs opaque. A clear protractor lets you see the rays running underneath, which makes aligning the origin far easier. If you can choose, choose clear.
If you do not have one within reach, you can print a real-size 180° or 360° protractor — check that the 10 cm bar on the sheet really measures 10 cm before trusting it.
Digital and phone protractors: what changes
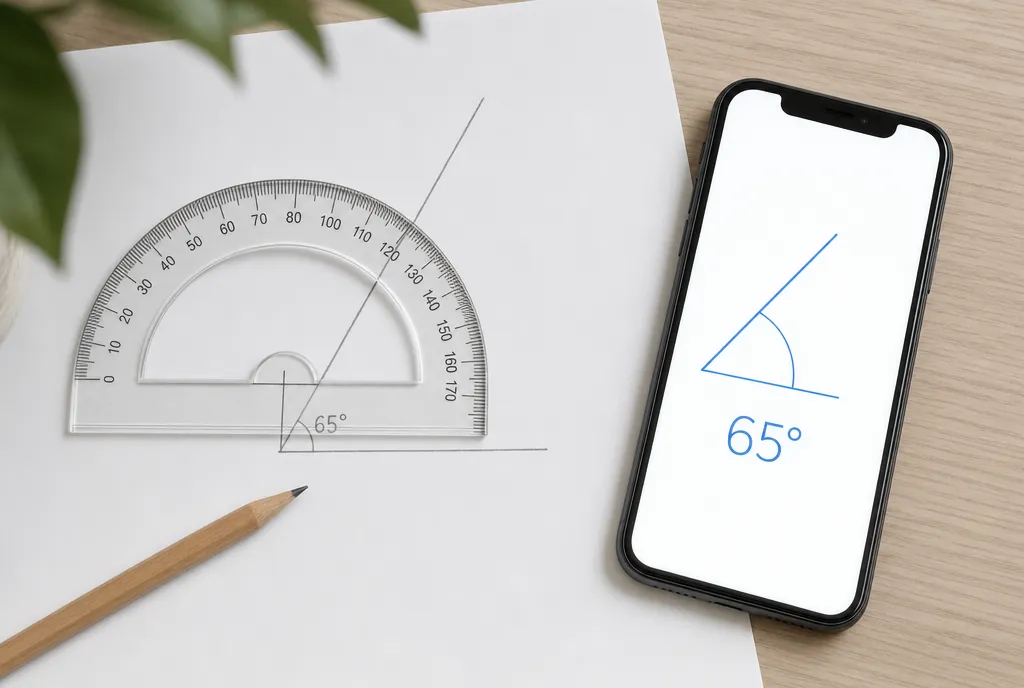
A physical protractor measures an angle drawn on a surface. A digital angle gauge or a phone app measures the angle of a surface — the tilt of a board, a wall, a ramp or a roof — by sensing gravity with an accelerometer. That difference decides which tool to reach for:
- Angle on paper or on screen (worksheets, diagrams, PDFs, a photo of a roof): use a physical protractor, or the online protractor, which places a draggable protractor over the screen and over photos. Alignment works exactly as described above, just with a mouse or finger.
- Angle of a real object you cannot press paper against: rest the phone on the surface and read the number. There is no origin to seat and no scale to pick, which removes the two mistakes that cause most wrong readings. See how to measure an angle and the round-up of angle measuring tools for when each one wins.
- Angles in a photo or at a distance (a roofline, a joint you cannot reach): only a camera-based approach works.
The physics is the same in all three: an angle is the opening between two directions from a shared point. The protractor teaches you to find the vertex and the rays; a phone just finds them for you when there is no flat sheet of paper in sight.
Quick reference
| Task | What to do |
|---|---|
| Measure an angle | Origin on vertex → baseline on ray 1 → read ray 2 on the scale that is 0° on ray 1 |
| Choose the scale | The one with 0° on your baseline ray; the two numbers always add up to 180° |
| Read between numbers | Start from the lower labelled ten, count 1° ticks in the direction that scale increases |
| Draw an angle | Baseline on a ruled line → dot at the target degree → rule vertex to dot |
| Reflex angle (over 180°) | Measure the small side and subtract from 360°, or extend a ray and add 180° |
| Check the answer | Acute must read under 90°, obtuse over 90°; if not, you read the other scale |
Frequently asked questions
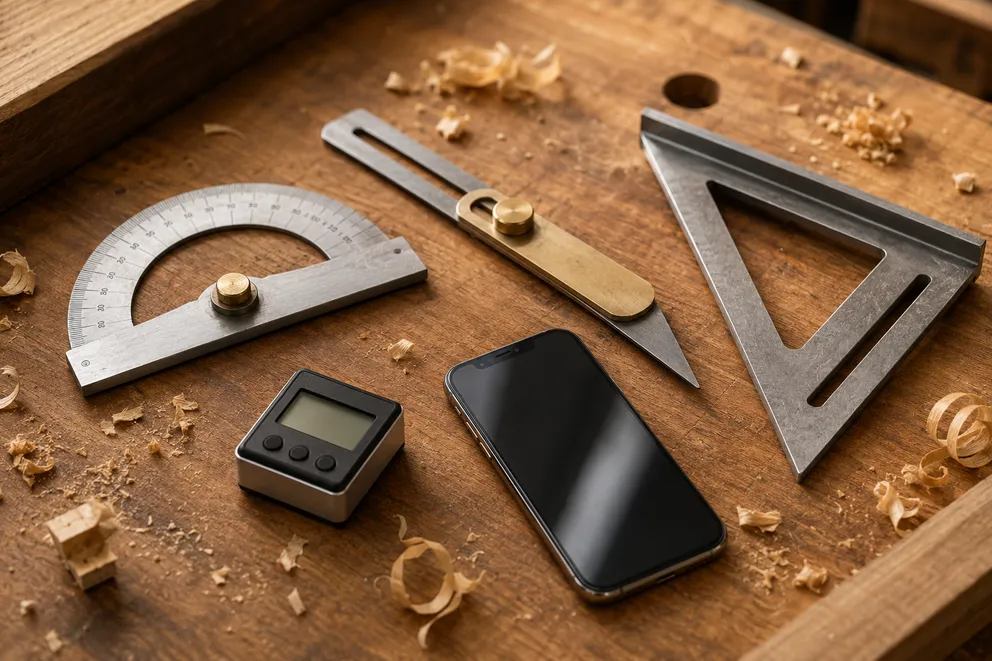
Angle Measuring Tools Compared: Which One Do You Need?
What each angle measuring tool does best — protractor, T-bevel, speed square, digital angle gauge, phone app, online protractor — and how to pick one.
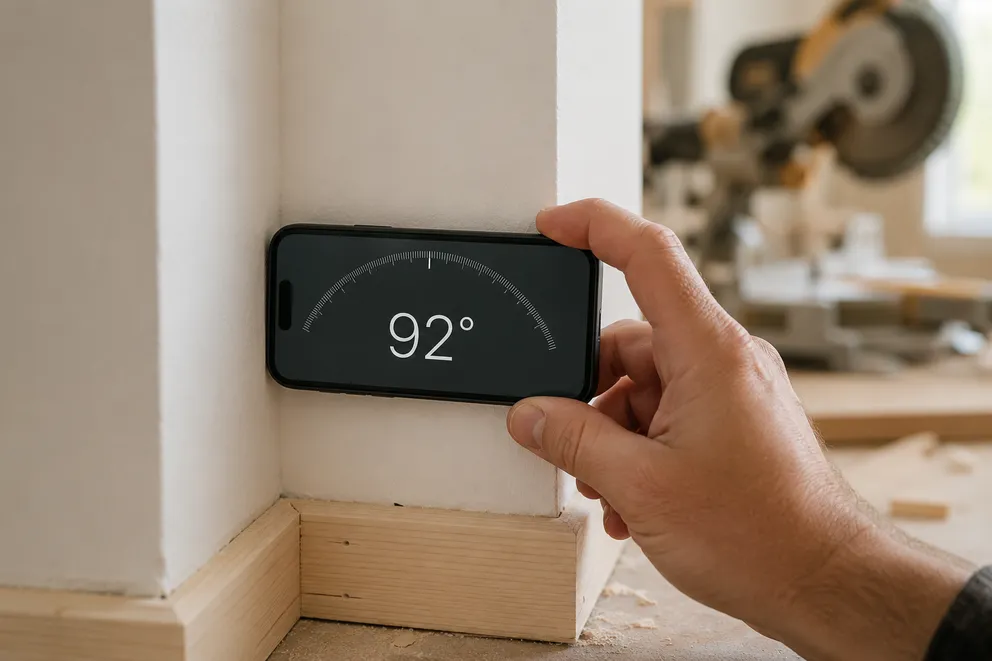
How to Measure the Angle Between Two Walls
Three ways to measure the true angle between two walls — phone with zeroing, T-bevel and protractor, or camera mode — and turn it into the right miter cut.
Measure any angle,
right from your pocket.
Protractor turns your phone into a precision angle finder, level and inclinometer. Measure anything, anywhere.
Download the App