
How to Use a Digital Angle Gauge
What a digital angle gauge actually is
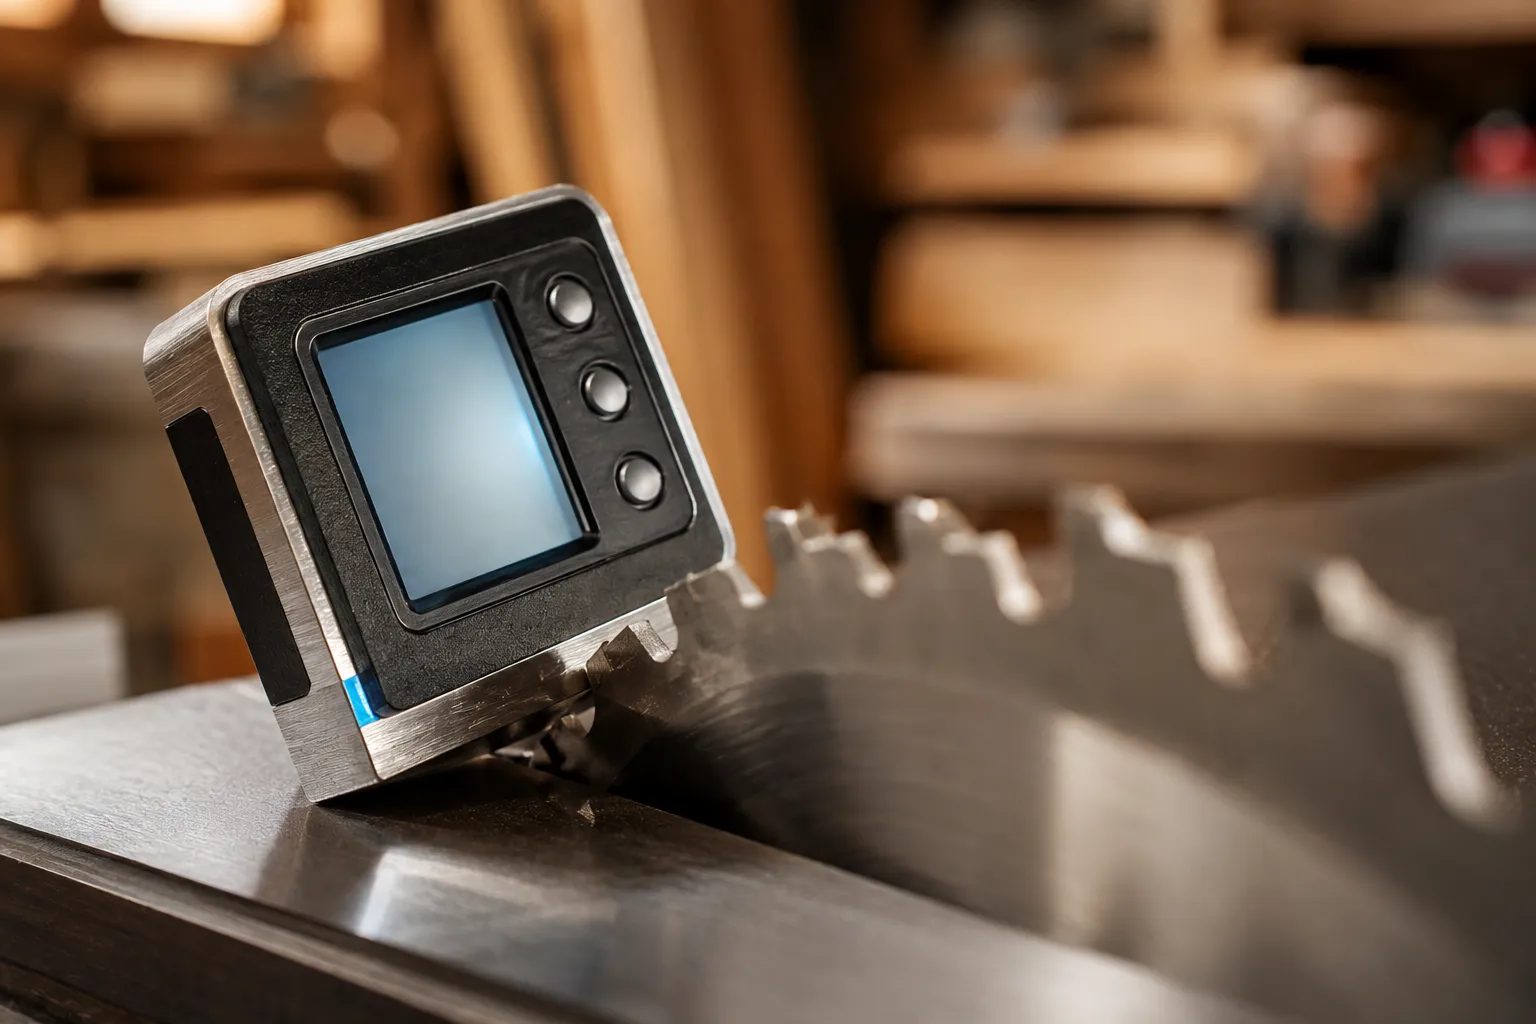
A digital angle gauge — also sold as a digital angle finder, digital level box, or digital inclinometer — is a small plastic box about the size of a matchbox. Inside is a tilt sensor that senses the direction of gravity; on the outside is an LCD that shows the angle the box is sitting at, and on the bottom is usually a magnetic base so it clamps onto any steel surface.
That is the whole device. Set it on a slope and it reads the slope. Stand it on a flat table and it reads close to 0°. There is no scale to line up and no parallax to misread — you get a number straight off the screen, typically to one decimal place.
The catch is that the number means nothing until you tell the gauge what “flat” is. That is what zeroing does, and it is the one skill that separates a useful reading from a wrong one.
Zeroing: the skill that matters most
Out of the box, a digital angle gauge reads relative to gravity. But your workbench, your saw table, and your workpiece are rarely perfectly level — so a raw reading bakes in whatever tilt the surface already has. Zeroing cancels that out.
To zero, set the gauge flat on a known reference — the saw table itself is the usual choice — and press the zero (or “cal” / “abs/rel”) button. The display snaps to 0.0°. From that moment, every angle you measure is relative to that reference surface, not to the planet.
This is the difference between the two modes:
- Absolute mode reads relative to gravity. A truly level surface shows 0° anywhere on Earth. Use it when you care about real level — checking that a shelf is flat, or a post is plumb.
- Relative mode reads relative to wherever you last zeroed. Use it when you care about the angle between two surfaces — like the tilt of a blade away from the table — regardless of whether the table itself is dead level.
For saw work, relative mode wins, because it removes any error from the table not sitting perfectly flat. Zero on the table, and the gauge now measures the blade’s tilt away from the table directly.
Setting a table-saw or miter-saw bevel
This is the job a digital angle gauge does best, and it takes four steps:
- Unplug the saw. You will be reaching near the blade.
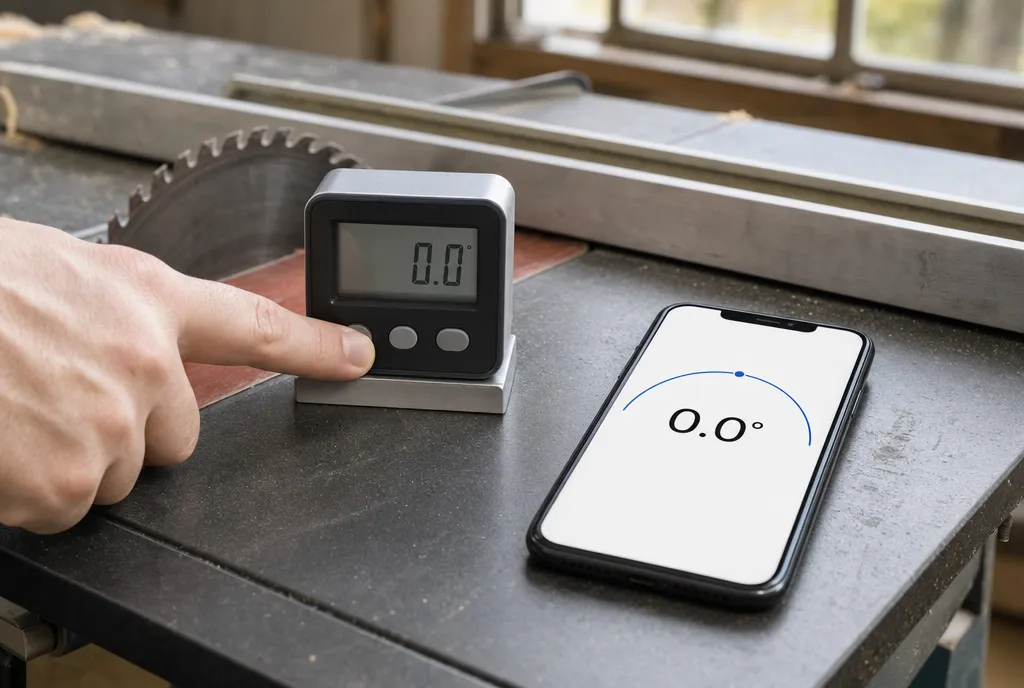
- Zero on the table. Set the gauge flat on the saw table next to the blade and press zero. The display reads 0.0°.
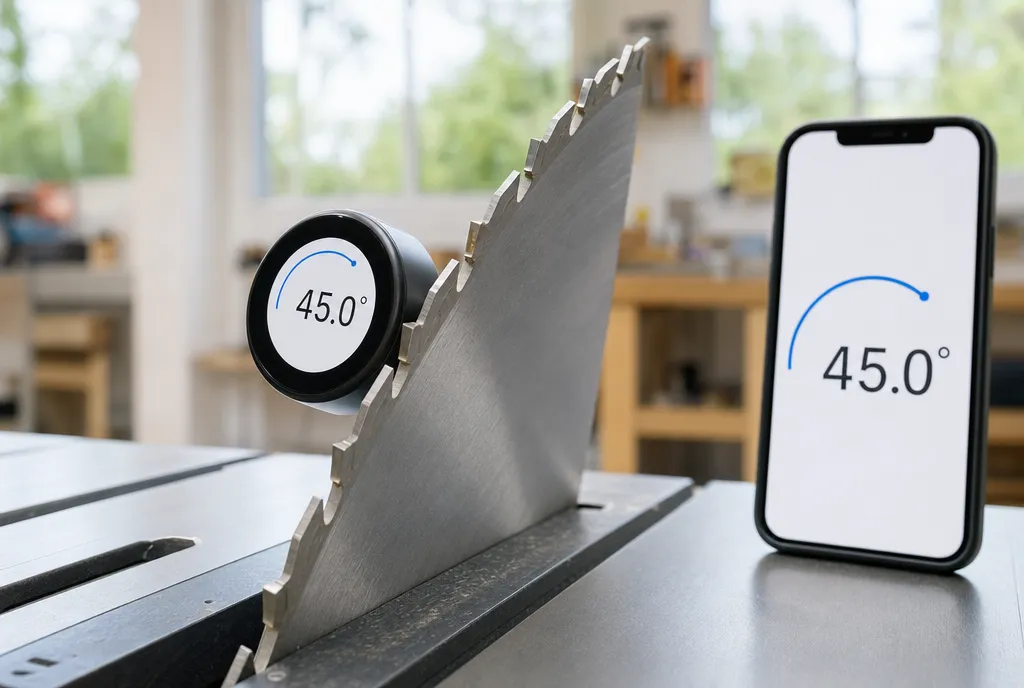
- Stick it to the blade. Place the magnetic face flat against the blade body — on a clean spot between teeth, not on a tooth. The gauge now reads the blade’s angle relative to the table.
- Tilt to your target. Crank the bevel adjustment until the display reads the angle you want —
45.0°for a true 45, or44.9°if you are sneaking up on a tight miter joint. Lock the bevel and recheck the reading before you cut.
Because you zeroed on the table, you do not care whether the table is perfectly level — the gauge is reading the angle from the blade to the table directly, which is exactly the angle your cut will have.
Other ways to use one
The same zero-then-measure routine covers a surprising range of shop tasks:
- Setting a miter fence. Lay the gauge flat against the fence to read its swing, useful when the detent scale on a cheaper saw drifts.
- Sharpening jigs. Stick the gauge to a chisel or plane iron in the honing guide to dial in a repeatable bevel — say 25° primary, 30° micro-bevel — far more precisely than a printed guide.
- Checking an existing angle. Drop it onto a ramp, a stair stringer, or a piece of trim to confirm the angle before you copy it. In absolute mode it tells you the slope; zeroed against a reference it tells you the difference from that reference.
- Replacing a torpedo level. In absolute mode the gauge is a high-resolution spirit level — 0.0° means level, 90.0° means plumb.
If you want a quick refresher on what these numbers represent before you start, our guide to reading an angle walks through the basics.
Calibration, batteries, and magnets
A few practical notes keep readings honest:
- Recalibrate occasionally. Most gauges have a factory calibration routine: set the unit on a flat surface, hold the cal button, flip it 180° on the same spot, and confirm. This corrects any drift in the sensor itself. Do it if a known-level surface stops reading 0.0° in absolute mode.
- Watch the battery. These run on a coin cell or a single AAA. A weak battery is a classic cause of a reading that slowly creeps or freezes — replace it before you trust a fine measurement.
- Keep the magnet clean. Steel filings or sawdust on the magnetic face hold the gauge slightly off the blade and throw the reading by a few tenths. Wipe it before each setup. A non-magnetic model is cheaper but you have to hold it against the blade, which is fiddly mid-adjustment — the magnet is worth it for saw work.
Treated this way, a decent gauge holds about 0.1°–0.2° near level, which is plenty for woodworking.
How a phone compares
Your iPhone has the same kind of tilt sensor — an accelerometer and gyroscope that sense gravity, the same hardware behind Apple’s built-in Level. A protractor app reads that tilt and shows you a live angle, and it can zero against a reference surface exactly like a dedicated gauge, so it does absolute and relative modes in one tool. There is also nothing extra to buy and no spare battery to keep charged.
Where a phone is convenient, it is honest to say it is not a perfect substitute at the saw. A phone reads tilt to roughly 1° in practice — fine for furniture, ramps, and trim, less ideal when you need a bevel to a tenth of a degree. And a phone has no magnet, so you cannot stick it to a moving blade and free both hands. We measured this trade-off in detail in how accurate phone angle apps really are.
So the split is simple. For setting saw blades to a fine bevel, a magnetic digital angle gauge is handier and a touch more precise. For everything else — checking a slope, copying an angle, or working as an angle finder when the gauge is in a drawer somewhere — the phone in your pocket already does the job. Most shops end up keeping both.
Frequently asked questions
How to Measure (and Mark) a 30-Degree Angle
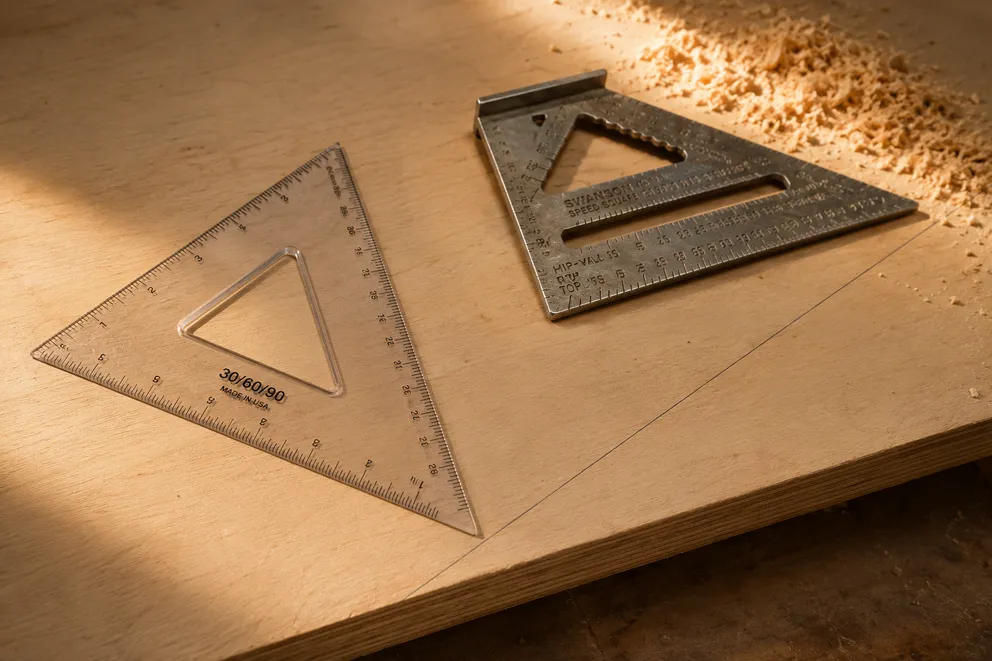
Four ways to measure and mark a 30-degree angle — protractor, speed square, 30-60-90 triangle, or the 2:1 hypotenuse trick — plus a phone check of the cut.
How to Hang Pictures Perfectly Level (Every Time)
Why frames end up crooked, how to level them with the phone-on-the-frame trick, hanging with two hooks, and keeping a gallery wall straight for good.
Measure any angle,
right from your pocket.
Protractor turns your phone into a precision angle finder, level and inclinometer. Measure anything, anywhere.
Download the App