
How to Measure Roof Pitch From the Ground
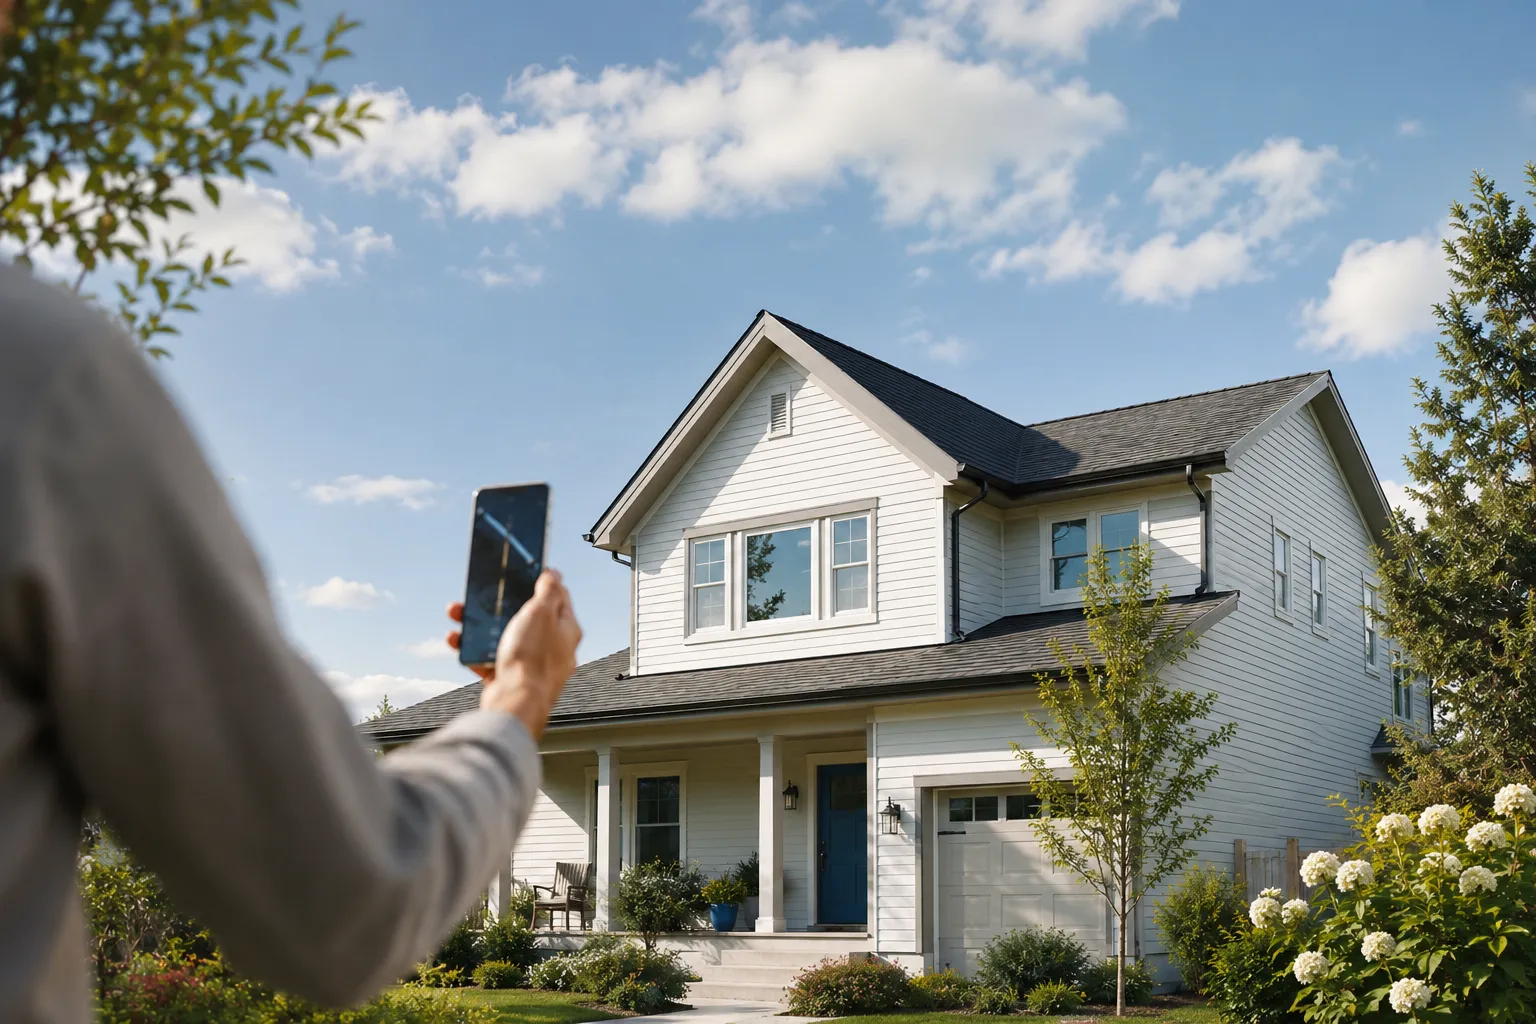
What “pitch” actually means
Roof pitch is the steepness of the slope, and roofers describe it as rise over run — how many inches the roof climbs for every 12 inches it travels horizontally. A roof that rises 6 inches across 12 inches of run is a 6-in-12 pitch. That ratio is the trade’s native language: you’ll see it written as 6:12, 6/12, or just “six-twelve.”
The same slope can be written three ways, and it helps to keep all three in your head:
- Ratio (X-in-12) — 6-in-12, the form roofers, suppliers, and building codes use.
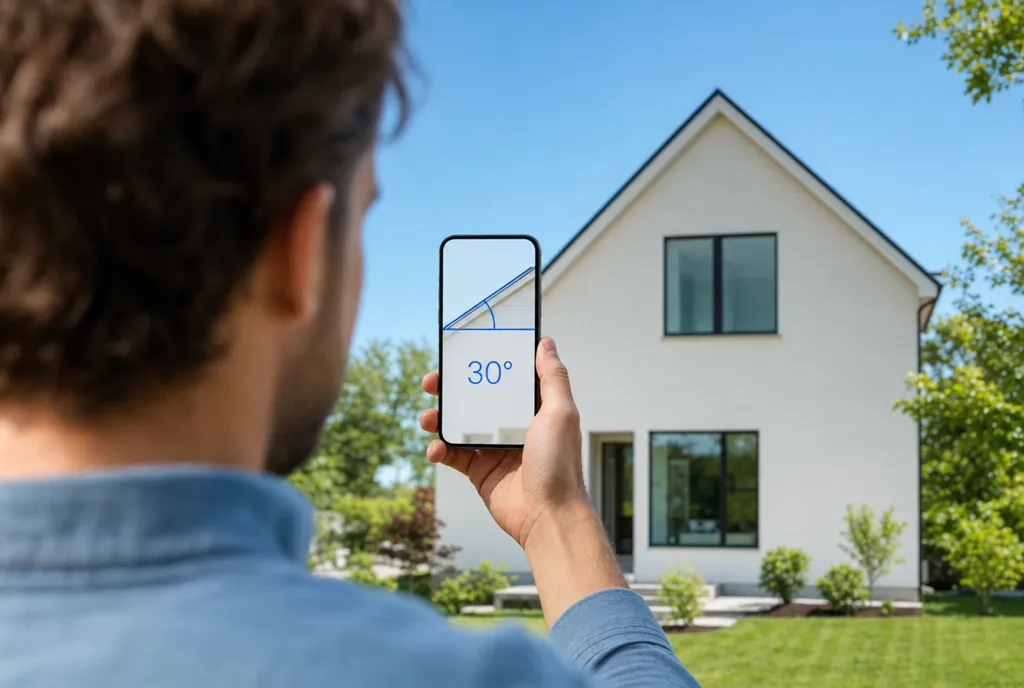
- Degrees — 26.6°, the angle the roof line makes with the horizontal.
- Percent — 50%, the rise divided by the run, times 100.
Whichever method you use to read the roof, you’ll land on one of these and can convert to the others. The goal of measuring from the ground is to get that number without ever leaving solid footing.
The ground / camera method
This is the fastest way to get a usable pitch, and it works on any house with a visible gable — the triangular wall under the two roof slopes at the end of the building.
- Find a spot square to the gable end. Walk around until you’re looking straight at the triangular gable, not at it from an angle. The two roof slopes should look symmetrical, meeting cleanly at the ridge. This squareness is the single biggest factor in getting an accurate reading.
- Hold your phone up toward the roof. Open a camera-protractor app and frame the gable so one full slope of the roof — the diagonal edge from eaves to ridge — runs across your screen.
- Read the angle against horizontal. Drag one on-screen arm along the sloped roof edge and the other along the horizontal (the eaves line, or the app’s level reference). The angle between them is the pitch in degrees.
- Convert to X-in-12 if you need it. A 26.6° reading is 6-in-12; the app or a quick calculation turns degrees into the ratio your supplier wants.
You can do the same thing with a still photo: shoot the gable square-on, then measure the angle of the roof edge in the image afterward. Either way you’re reading the slope of a line, which is exactly what a camera-protractor app is built for.
About perspective error. This method has a real limitation, so be honest about it. If you’re not standing square to the gable — if you’re off to the side, or too close, or shooting up at a steep angle — the camera flattens or exaggerates the slope and your reading drifts. Shooting square to the gable end is what keeps it honest. Back up so you’re further from the house (a longer, flatter sightline distorts less than a close, steep one), keep the phone roughly upright rather than tilted back, and take two or three readings to average out the wobble. Done carefully, the ground method lands within a degree or two — fine for ordering materials or sizing a job, but not a substitute for a tape measure when you need an exact figure.
The attic method (precise, and still no climbing)
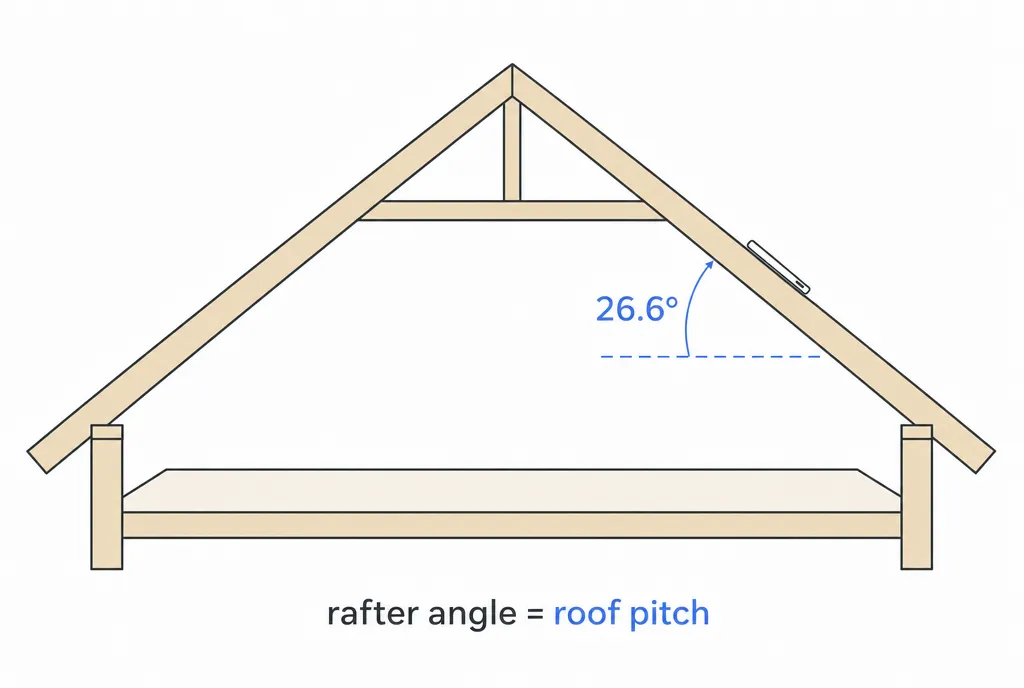
If you can get into the attic or a crawl space, you can measure the pitch directly off a rafter — the sloped beams that hold up the roof deck. This is more accurate than the camera because you’re measuring the real geometry instead of reading it through a lens, and you’re doing it standing on a joist instead of a roof.
- Hold a level horizontally against the underside of a rafter. A 12-inch torpedo level or a longer level works; bubble it dead flat so it reads true horizontal.
- Mark 12 inches along the level. Measure out exactly 12 inches from the end touching the rafter. That’s your run.
- Measure straight up to the rafter. From the 12-inch mark on the level, measure vertically up to the bottom of the rafter. That vertical distance is the rise.
- Read it off directly. If the rise is 7 inches, the roof is 7-in-12. No conversion needed — holding the level at 12 inches of run gives you the X-in-12 pitch straight away.
You can also do step 3 with a phone instead of a tape: rest the phone flat against the rafter and let its sensors read the tilt in degrees, the same trick covered in our guide on measuring roof pitch. Either gets you a clean number from inside, where there’s nothing to fall off of.
Converting between ratio, degrees, and percent
Once you have a reading, you’ll often need it in a different form than you measured it. The math is short:
- Ratio to degrees — take the inverse tangent of rise ÷ run. A 6-in-12 pitch is
arctan(6 ÷ 12)= 26.6°. A 12-in-12 isarctan(12 ÷ 12)= exactly 45°. - Degrees to ratio — multiply the tangent of the angle by 12. A 30° roof is
tan(30°) × 12≈ 6.9, so call it 7-in-12. - Ratio to percent — divide rise by run and multiply by 100. A 6-in-12 is
6 ÷ 12 × 100= 50%.
The one trap worth flagging: percent slope and degrees are not the same number. A 100% slope is 45°, not 90° — at 90° the roof would be a vertical wall. Our deeper write-up on degrees, percent, slope, and ratio walks through why. If you’d rather skip the trig, drop your rise-over-run into the roof-pitch calculator and read all three values at once.
Safety and accuracy, honestly
The whole point of measuring from the ground or the attic is that you don’t get on the roof. Roof falls are among the most common serious DIY injuries, and a pitch reading is never worth that risk — especially on a wet, mossy, or steep surface. If a job genuinely needs an on-roof measurement, that’s its own task with its own precautions, covered in our on-roof roof-pitch guide.
Set your expectations to match the method. The attic-and-level approach is the precise one — measure carefully and it’s accurate to the nearest half-inch of rise. The camera-from-the-ground approach is an estimate: an iPhone’s sensors are good to roughly a degree for DIY purposes, but perspective adds error on top of that, so treat the result as “about 6-in-12,” not a surveyed figure. For ordering shingles, sizing a tarp, or quoting a job, that’s plenty. For anything where a degree matters, measure the rafter, double-check with a second reading, and write down the number you trust.
Frequently asked questions
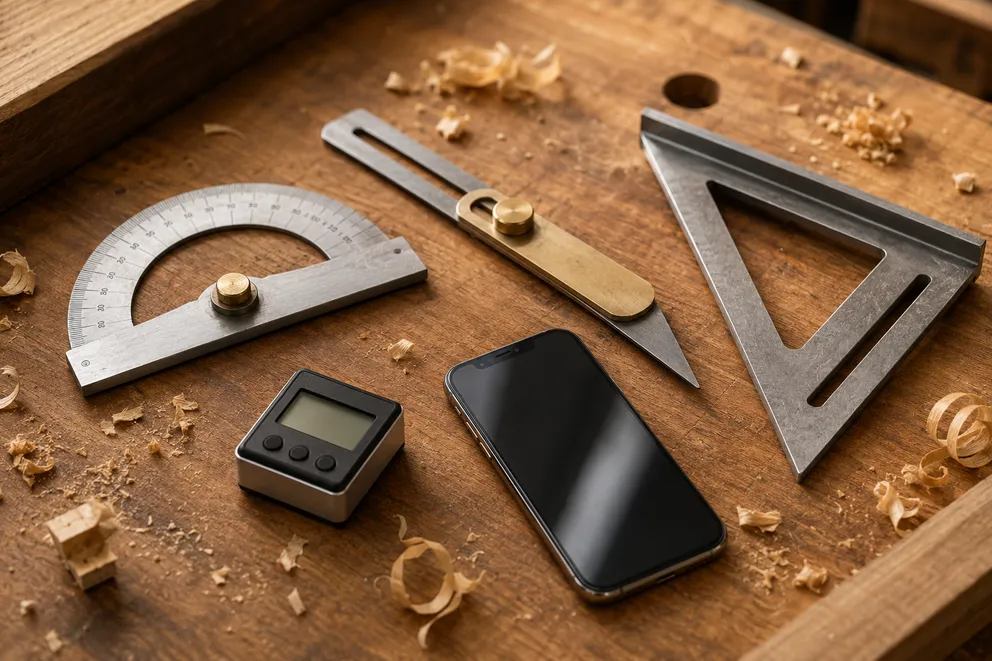
Angle Measuring Tools Compared: Which One Do You Need?
What each angle measuring tool does best — protractor, T-bevel, speed square, digital angle gauge, phone app, online protractor — and how to pick one.
How to Measure the Angle Between Two Walls
Three ways to measure the true angle between two walls — phone with zeroing, T-bevel and protractor, or camera mode — and turn it into the right miter cut.
Measure any angle,
right from your pocket.
Protractor turns your phone into a precision angle finder, level and inclinometer. Measure anything, anywhere.
Download the App