
How to Cut Miter Angles (Trim, Frames & Crown)
The one rule behind every miter
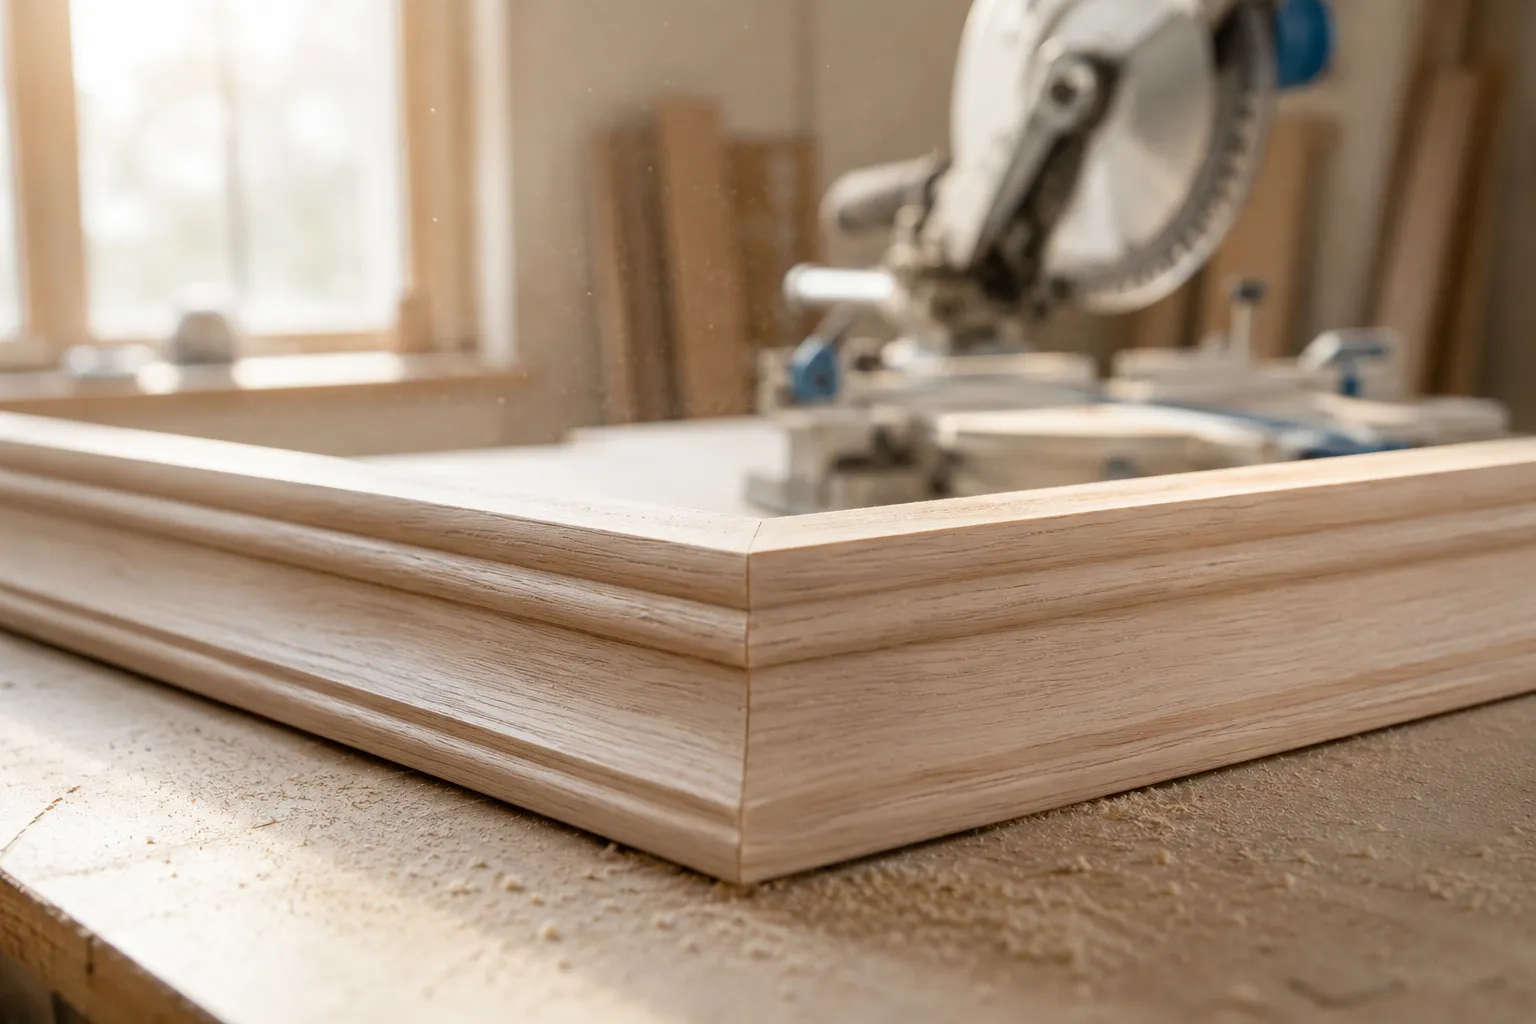
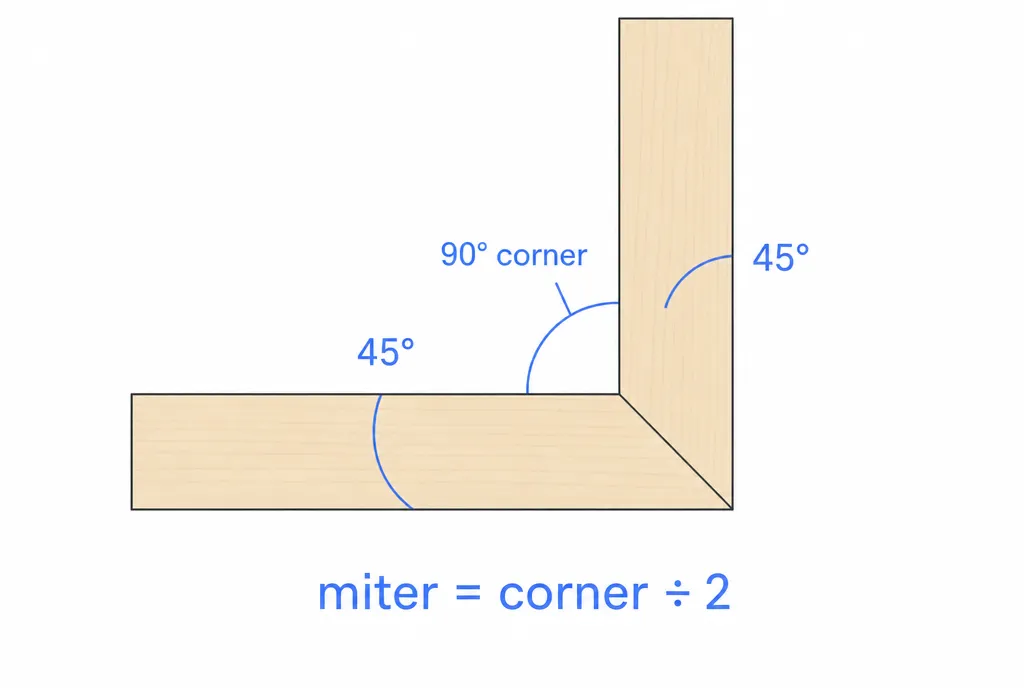
A miter joint joins two pieces by splitting the corner between them. Each board gets cut so that, when you push the two together, their cut faces meet flush and the seam runs neatly across the corner.
The math is short: miter angle = corner angle ÷ 2. Two boards meeting at a 90° corner each get cut at 45°, because 45 + 45 = 90. A 120° corner — common on a five- or six-sided frame or a bay window — splits into two 60° miters. An 80° corner splits into two 40° miters. Whatever the corner, halve it and cut both pieces to that number.
If geometry isn’t your thing, our guide to measuring an angle walks through what these numbers actually mean before you start feeding wood through a saw.
Reading your miter saw’s scale
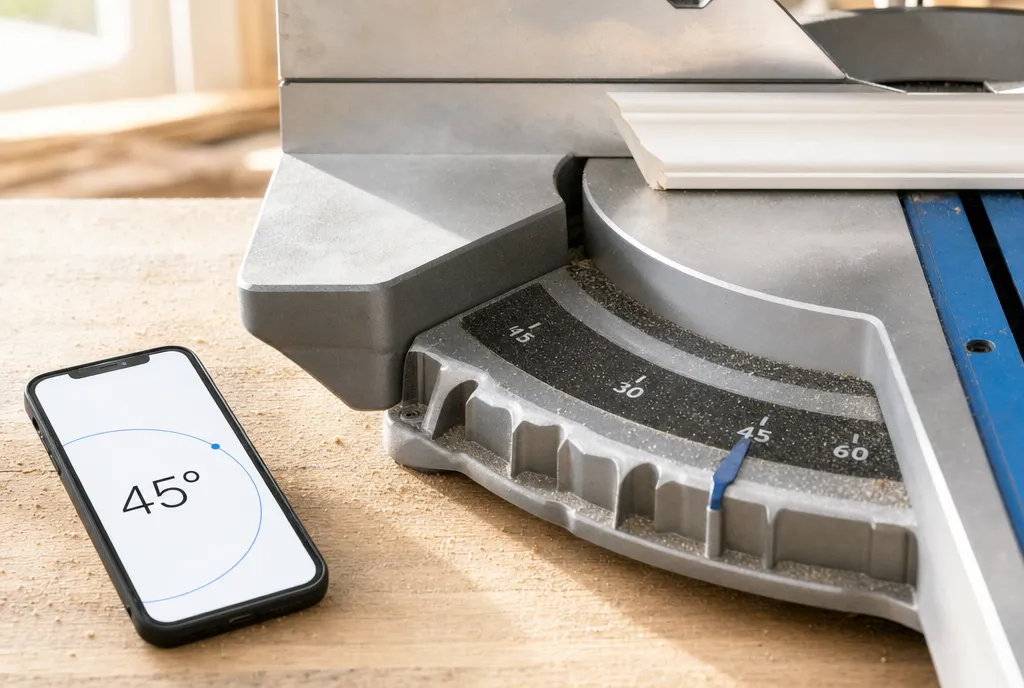
Here’s the part that trips people up. A miter saw’s scale doesn’t read the corner angle and it doesn’t read the full miter — it reads the cut measured from the fence, which is the deviation from a straight 90° crosscut.
So for a square 90° corner, you set the saw to 45° and it cuts a 45° miter on each piece. The two 45s close up to 90. The saw’s 0° position is a straight square cut; swing it to 45° and you’ve got the classic picture-frame miter. This is why “set it to 45” is muscle memory for so many trim corners — almost every wall corner in a house is built to 90°.
The catch is that built to 90 and actually 90 are different things, which is where measuring comes in.
Measure the real corner first
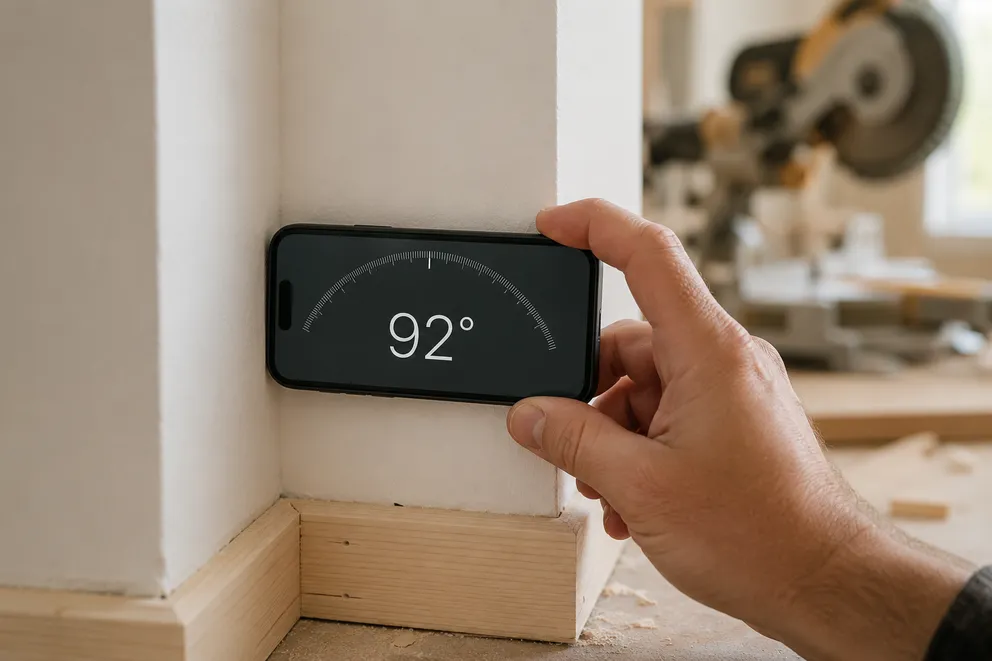
Drywall corners bulge, old houses settle, and floors aren’t flat. Cut two perfect 45s into a corner that’s really 92° and you’ll get a visible gap every time. Trust the corner, not the blueprint.
Lay an angle finder into the corner — or rest your phone flat against each wall and read the tilt — to get the true angle. With Protractor’s digital angle finder you can hold the phone into the corner, read the degrees straight off the screen, then divide by two in your head. A corner reading 94° means two 47° miters; an 88° corner means two 43°.
For the everyday 90° case, our walkthrough on measuring a 45° angle covers checking that your reference is genuinely square before you commit a cut to it.
Measure both walls of the corner if you can, because they don’t always lean the same way — but for most trim, one good reading of the opening angle is enough to set the saw.
Cut, test, and adjust in scrap
Never make your first cut on the good piece. Grab two offcuts the same thickness as your trim and run the procedure:
- Set the saw. Take your measured corner angle, halve it, and dial that miter onto the saw scale. For a 90° corner that’s the 45° detent; for anything else, set the saw to your half-number.
- Cut both scraps. One piece gets the miter swung left, the other swung right, so the two cuts mirror each other.
- Dry-fit the joint. Hold the two scraps together in the corner and look hard at the seam.
- Read the gap. This is the whole game. A gap on the inside of the corner means your miter angle is too big — back each cut off by a degree. A gap on the outside means it’s too small — add a degree to each. Adjust and re-cut scrap until the line disappears.
Splitting the difference matters: if you need to shave a degree, take it off both pieces, not all from one. Symmetrical cuts keep the molding profile lined up across the joint so the pattern flows around the corner instead of stepping.
Once a scrap pair closes tight, that’s your setting. Cut the real trim without moving the saw.
A word on crown molding
Crown is the exception that humbles everyone. It doesn’t sit flat against the wall — it leans out at a spring angle (usually 38° or 45°), so cutting it square would mean tilting the molding in space.
That means a crown corner needs a compound cut: a miter and a bevel at the same time, both set off the corner angle and the spring angle together. The two numbers aren’t intuitive, and trying to derive them by feel wastes a lot of molding.
The practical move is to measure the corner with an angle finder, note your molding’s spring angle, and read both the miter and bevel settings off a crown-cut chart for that spring angle. (Cutting crown “nested” — held upside down against the saw fence at its spring angle — lets you treat it more like flat trim, but you still measure the real corner first.) Whichever method you use, the rule underneath hasn’t changed: the corner gets split in two, and a scrap test tells you the truth before your good stock does.
Frequently asked questions

Angle Measuring Tools Compared: Which One Do You Need?
What each angle measuring tool does best — protractor, T-bevel, speed square, digital angle gauge, phone app, online protractor — and how to pick one.
How to Measure the Angle Between Two Walls
Three ways to measure the true angle between two walls — phone with zeroing, T-bevel and protractor, or camera mode — and turn it into the right miter cut.
Measure any angle,
right from your pocket.
Protractor turns your phone into a precision angle finder, level and inclinometer. Measure anything, anywhere.
Download the App