
How to Measure an Angle in a Photo or on Screen
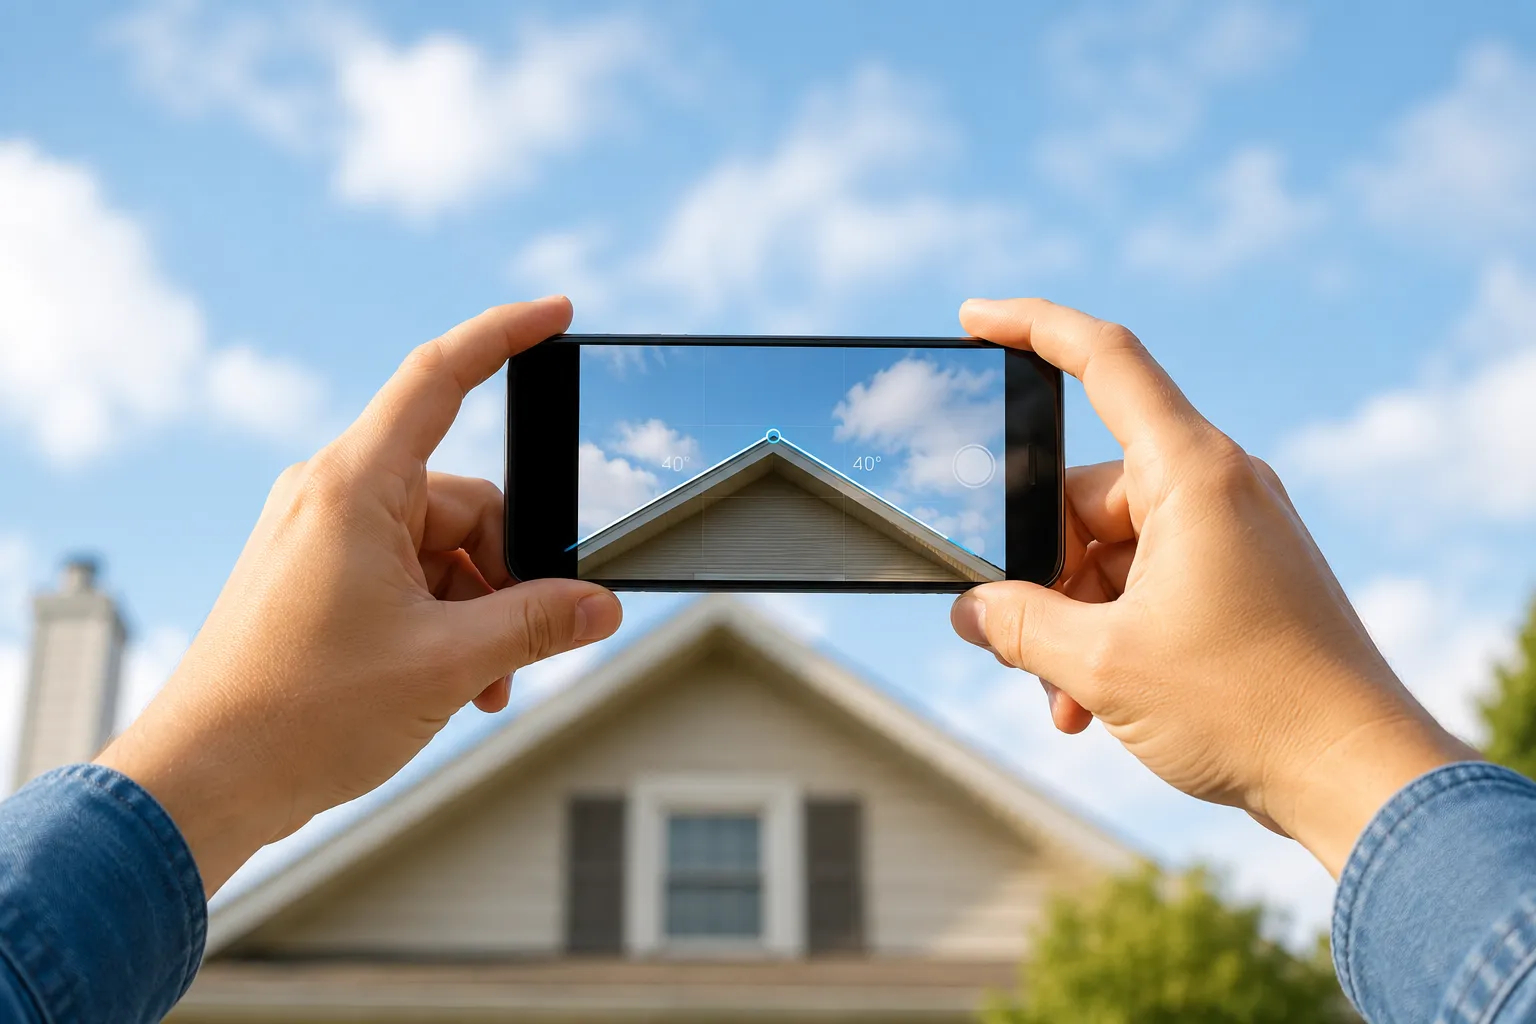
When you can’t reach the angle
Some angles you simply can’t put a protractor against. The pitch of a roof seen from the yard. A corner where two walls meet near the ceiling. A slope across a field. The edge of a beam overhead. There’s no flat sheet of paper to align, and no surface you can press a phone flat against to read its tilt.
For those, the answer is to measure an angle in a photo instead of in the world. You capture the lines once, then do the measuring on screen, at arm’s length, as many times as you like. The geometry is the same — two lines meeting at a vertex, and a number of degrees between them — but the measuring tool moves from the physical object onto the image of it.
This works because an angle is just the relationship between two directions. As long as those two lines are captured faithfully in the picture, you can lay a protractor over them later and read the opening exactly as you would on paper.
Method 1: a camera protractor app
The most direct route is a camera-based Protractor app. Instead of measuring tilt with the phone’s motion sensors, it lets you measure straight off the camera image:
- Point and frame. Aim the camera so both lines that form the angle are clearly in view — the two edges of a roof, two walls of a corner, a slope against the horizon.
- Snap or freeze the frame. Capture the photo, or work on the live preview. Freezing it steadies your hand and lets you zoom in.
- Drag the first arm. Move one on-screen arm so it lies exactly along one of the two lines in the image. Pinch to zoom if the line is thin or far away.
- Drag the second arm. Lay the other arm along the second line. Both arms pivot from the same vertex — the point where the lines meet.
- Read the degrees. The app shows the angle between the two arms live as you adjust them.
The whole skill is getting the arms to sit on the lines rather than near them. Zoom in, nudge slowly, and check the endpoints as well as the middle. A small misalignment at the far end of a long line costs you more degrees than one near the vertex.
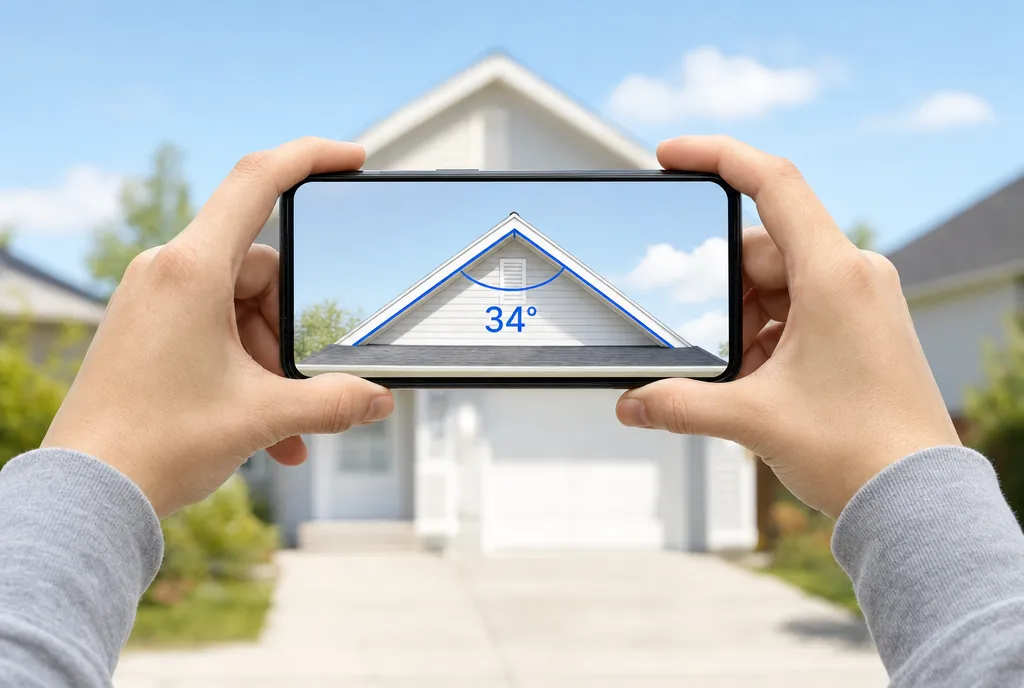
Method 2: an online protractor over an existing image
You don’t always have the camera in hand at the moment you need a reading. Maybe the angle lives in a screenshot, a scanned drawing, a product photo, or a picture someone sent you. For those, an online protractor does the same job in the browser: you open the protractor over the image on screen and rotate its arms onto the angle.
The principle is identical to the app method — align two arms with the two lines and read the opening — but it runs on whatever’s already on your screen, with no new photo required. It’s handy for measuring an angle in an image you found online, checking a corner in a floor plan, or reading a slope off a chart.
One practical note: the protractor measures the angle as drawn in the image. If the original picture was taken at a tilt, the protractor faithfully reports the tilted angle, not the true one. Garbage in, garbage out — which is why the next section matters.
Shoot straight on, or the perspective lies
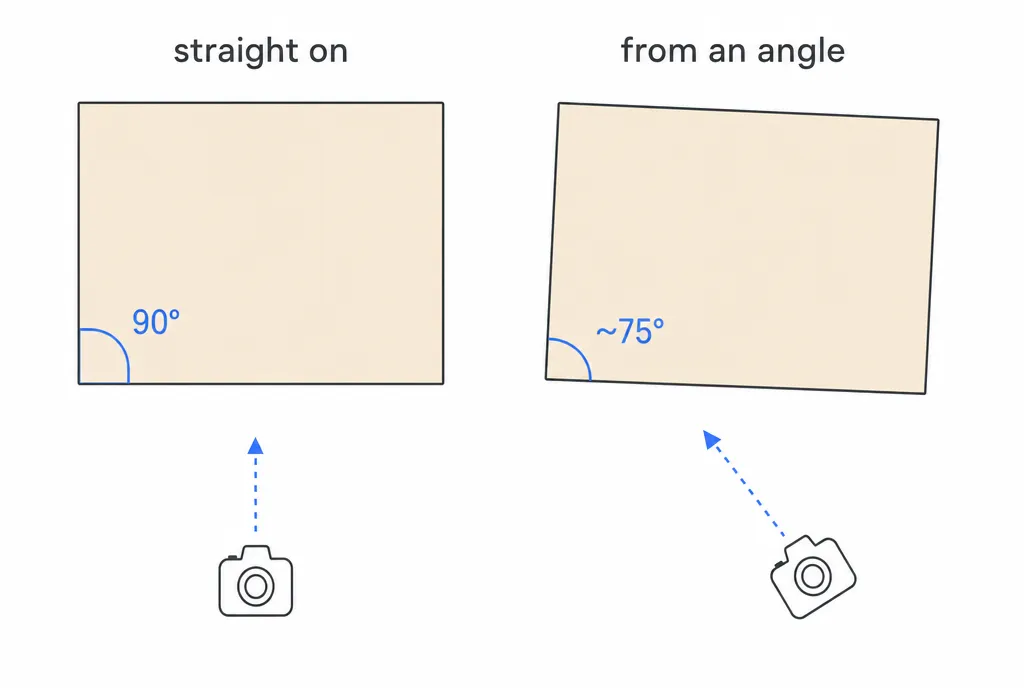
Here’s the honest limitation. A camera flattens a three-dimensional scene onto a flat image, and that projection distorts angles whenever you’re not square to the subject. Photograph a roof from below and off to one side, and the pitch in the picture won’t match the real pitch — perspective foreshortens the lines and bends the angle. This is the single biggest source of error when you measure an angle in a photo.
The fix is to get square to the subject:
- Face it head-on. Stand so the plane containing the angle is parallel to your camera, not skewed away from it. For a roof, that means lining up with the gable end.
- Get level with it. Shoot from roughly the same height, or as close as you can. Looking sharply up or down tilts the projection.
- Back up and zoom. Standing farther away and zooming in flattens perspective, so the lines stay truer than they do up close with a wide shot.
- Keep the phone upright. A tilted camera rotates the whole frame and quietly skews every line in it.
Do those things and the angle in the photo will closely match the angle in the world. Skip them and you’re measuring the distortion, not the object.
Good uses — and where it falls short
Photo and on-screen measurement shines when the angle is real, fixed, and out of reach:
- Roof pitch from the ground — stand back, frame the gable squarely, drag the arms onto the roofline and the eave.
- A high corner or rafter — capture it from across the room rather than balancing on a ladder.
- A distant slope or ramp — read the incline of a hillside or driveway you can’t lay a phone on.
- An angle in a drawing or screenshot — measure a corner in a plan with an online protractor, no camera needed.
For surfaces you can reach, a level-style reading is better: rest the phone against the surface and let its motion sensors read the tilt directly — see our angle finder guide for that approach, which sidesteps perspective entirely.
And be clear about the ceiling on accuracy. A photo measurement is a visual estimate — typically good to a degree or two when you shoot straight on, looser when you don’t. It’s perfect for planning a project, settling a question, or sizing up a slope. It is not a substitute for a calibrated inclinometer or a surveyor’s instrument when a certified, precise number is required. Use it for what it’s great at: getting a trustworthy answer about an angle you’d otherwise have no way to read at all.
Frequently asked questions
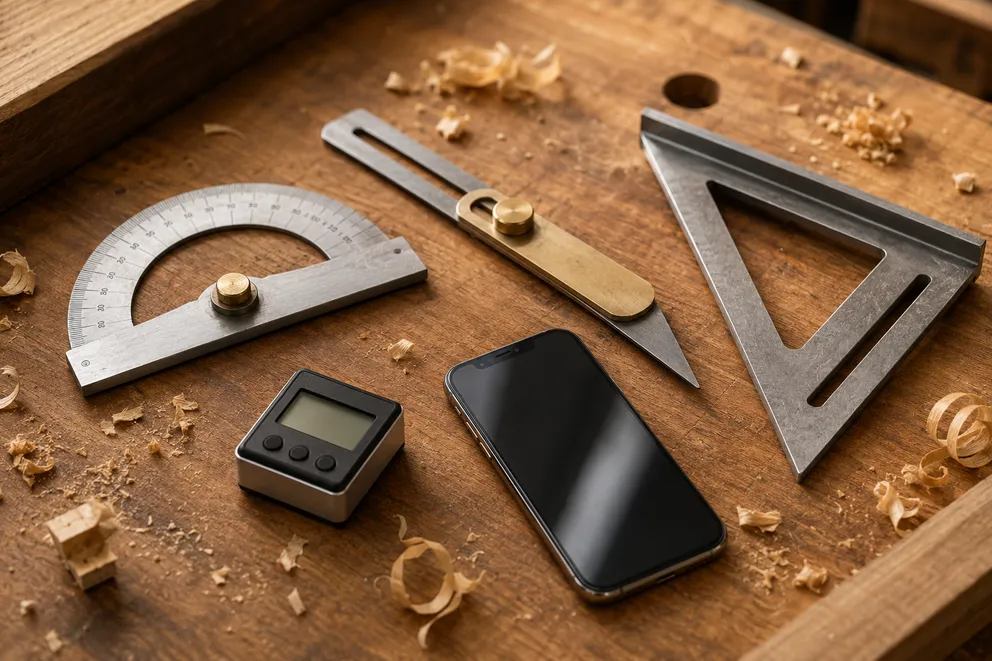
Angle Measuring Tools Compared: Which One Do You Need?
What each angle measuring tool does best — protractor, T-bevel, speed square, digital angle gauge, phone app, online protractor — and how to pick one.
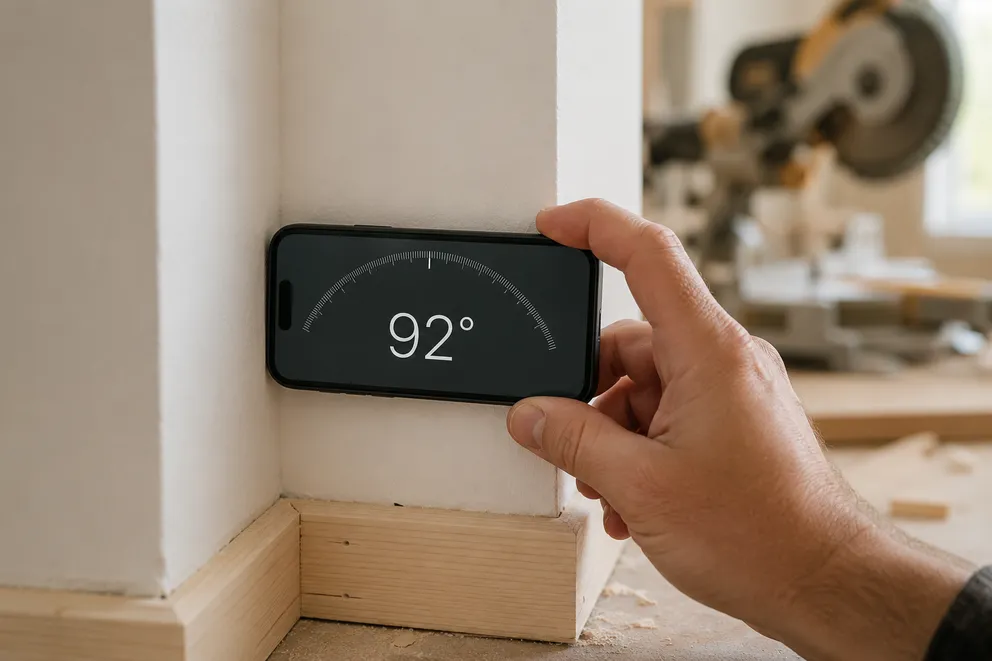
How to Measure the Angle Between Two Walls
Three ways to measure the true angle between two walls — phone with zeroing, T-bevel and protractor, or camera mode — and turn it into the right miter cut.
Measure any angle,
right from your pocket.
Protractor turns your phone into a precision angle finder, level and inclinometer. Measure anything, anywhere.
Download the App