
How to Measure a Staircase Angle (and Stringer Cut)
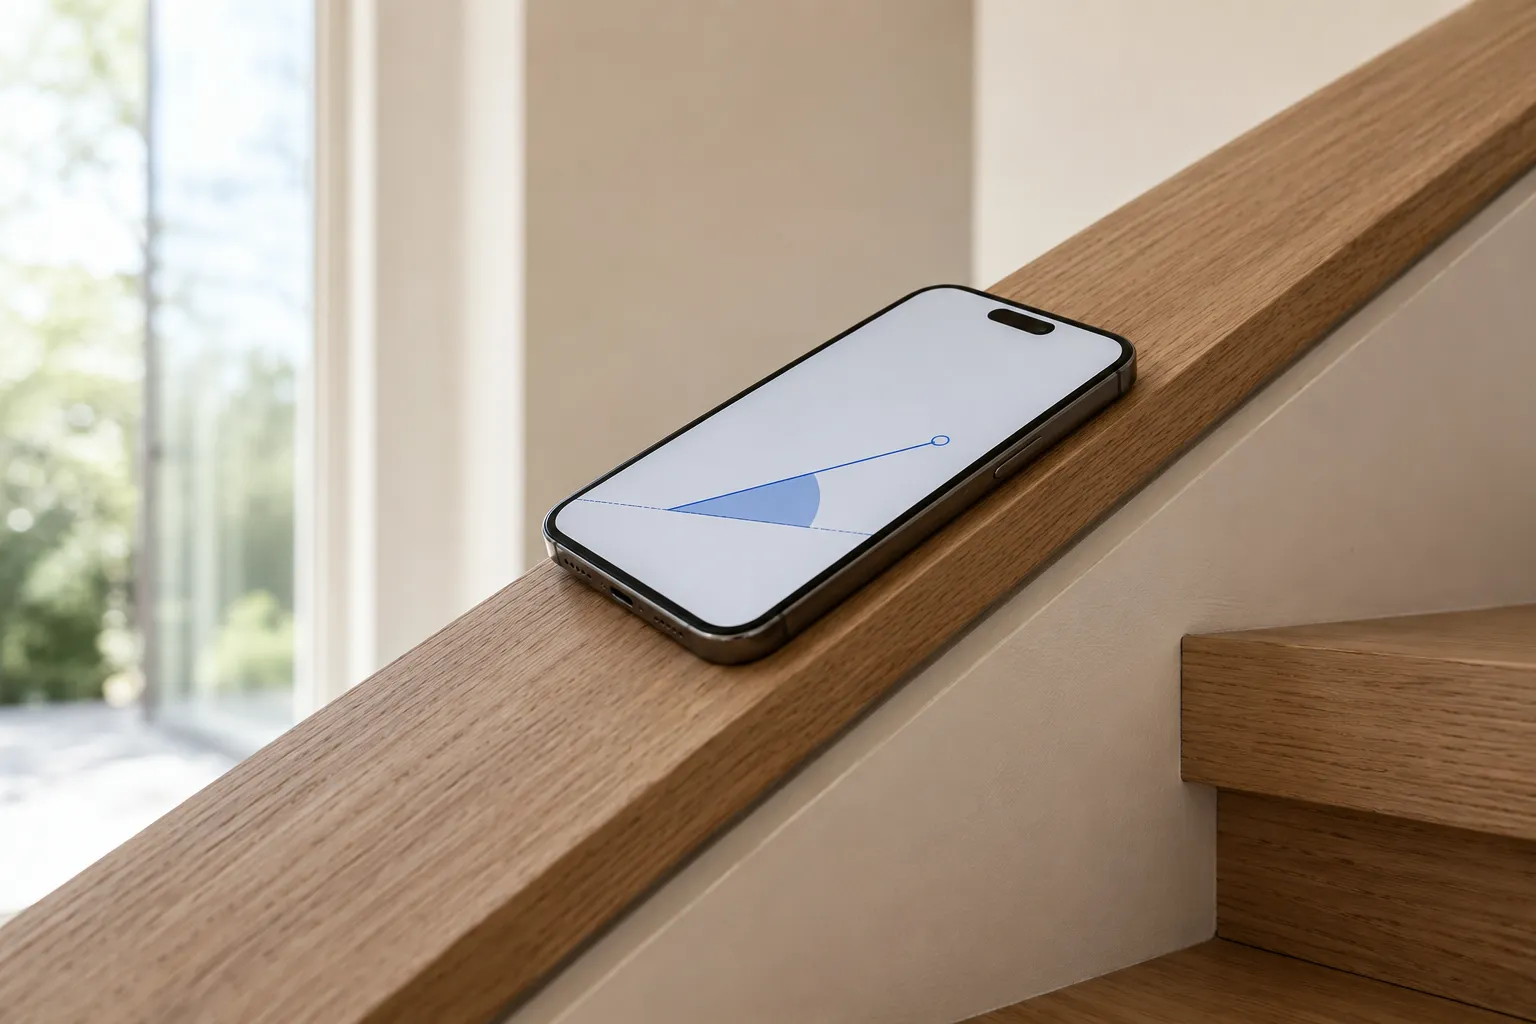
What “staircase angle” actually means
The staircase angle is the incline of the whole flight — how steeply it climbs from the bottom floor to the top. It isn’t an arbitrary number you choose; it falls out of the rise and run of each step.
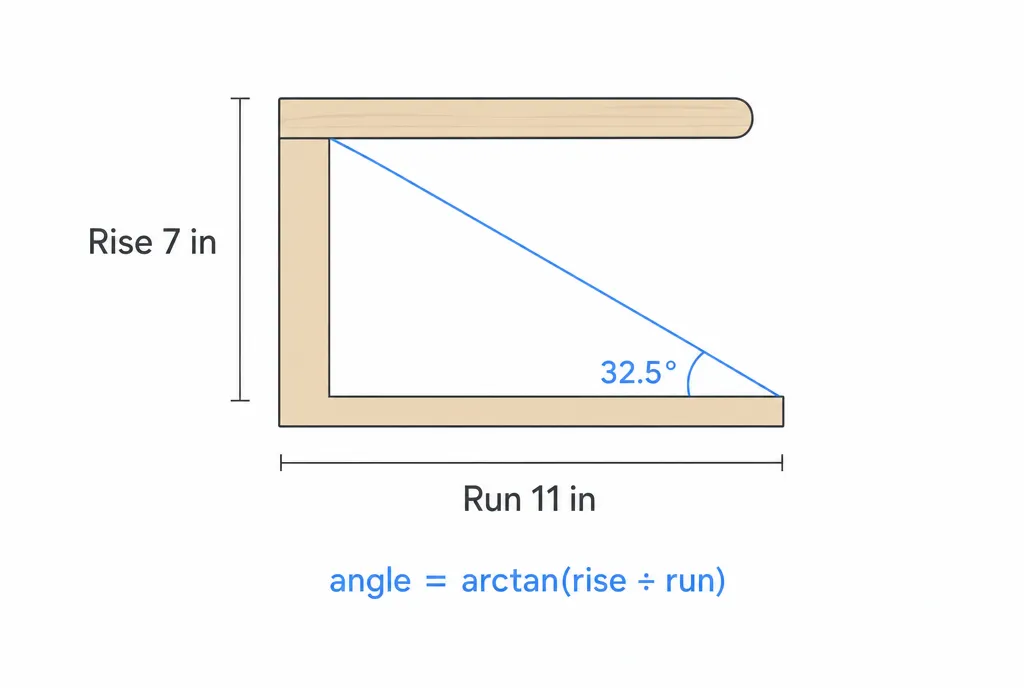
The rise is the vertical height of one step, from the top of one tread to the top of the next. The run (sometimes called the going) is the horizontal depth of the tread your foot lands on, measured without the nosing overhang. Every step in a flight uses the same rise and run, so those two numbers define the angle of the entire staircase.
Because each step is a right triangle — rise going up, run going across — the angle is straightforward trigonometry:
angle = arctan(rise ÷ run)
A typical step with a 7-inch rise and an 11-inch run gives arctan(7 ÷ 11) ≈ 32.5°. Bump the rise to 7.75 inches over a 10-inch run and you’re at arctan(7.75 ÷ 10) ≈ 37.8° — noticeably steeper underfoot.
What angle a comfortable staircase should be
Comfortable interior stairs cluster between 30° and 37°. That range is shallow enough that you’re not hauling yourself up, but steep enough that the flight doesn’t run halfway across the room.
- Below 30° — gentle and easy, but the staircase gets long and consumes a lot of floor space. Common for grand or public stairs.
- 30° to 37° — the everyday sweet spot for homes. Steps feel natural at a normal walking rhythm.
- 38° to 42° — steep but usable. You’ll feel it, and it’s often where space-saving stairs land.
- Above 42° — starts behaving like a ladder; fine for a loft access, not for daily use.
Your local building code almost certainly regulates the maximum riser height and minimum tread depth — which together cap how steep a staircase is legally allowed to be — along with rules for handrails and headroom. These vary by region and by whether the stair is residential or commercial, so treat the ranges above as comfort guidance, not a code reference. Always check your local building code before cutting anything for a permanent installation.
How to measure an existing staircase
There are two reliable ways to get the angle of a staircase that’s already built.
Method 1 — read it directly with a phone. The nosings (the front edges of the treads) all line up along one straight slope. Rest your phone flat against that line of nosings, or lay it along the top edge of the stringer — the angled board the steps sit on. The phone’s motion sensors sense the tilt and a digital level or protractor reads it straight off as degrees. This is the fastest method and it skips the arithmetic entirely. A long, straight board laid across the nosings gives the phone a flatter surface to rest on if the treads are uneven.
Method 2 — measure one step and compute. Pick a single step. Measure its rise (hold a level out from the upper tread and measure straight down to the lower tread) and its run (the horizontal tread depth, ignoring nosing overhang). Then take arctan(rise ÷ run). If your steps measure 7.25” rise and 10.5” run, that’s arctan(7.25 ÷ 10.5) ≈ 34.6°.
Both methods should agree within a degree or so. If they don’t, your phone probably wasn’t flush against a straight line, or the step you measured isn’t typical of the flight.
Laying out a new stringer with a framing square
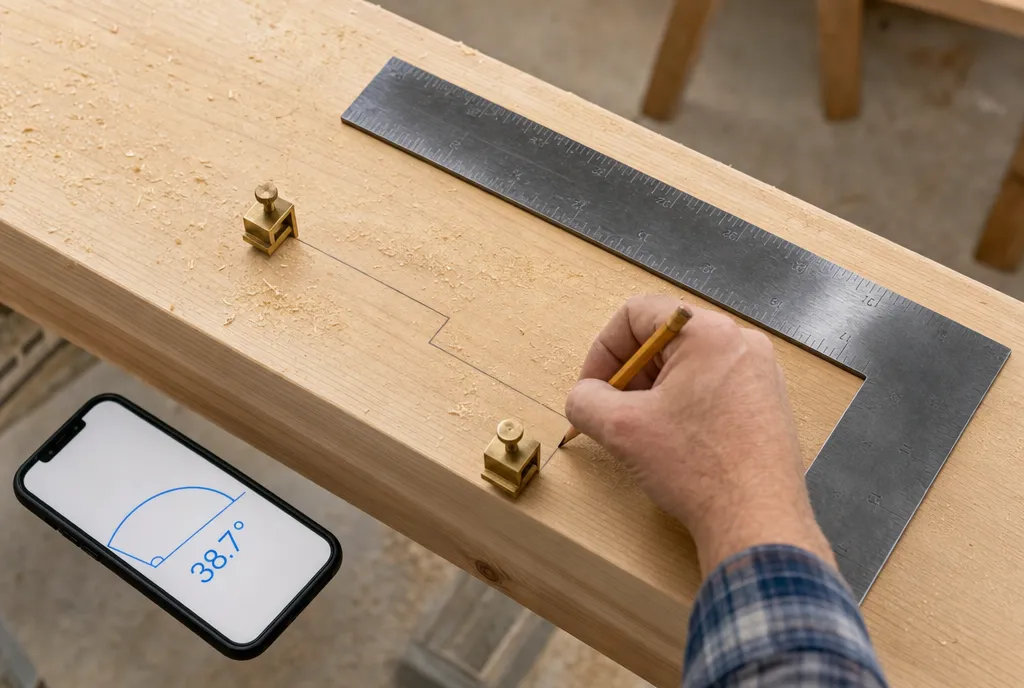
A stringer is the sawtooth-cut board that carries the treads and risers. Carpenters lay it out with a steel framing square, which has a long arm (the blade) and a short arm (the tongue). You don’t measure the angle directly — you set the rise and run, and the angle takes care of itself.
- Decide your rise and run. Divide the total floor-to-floor height by your target riser height to get the number of steps, adjusting until the rise lands in a comfortable, code-legal range. Pair it with a tread depth that keeps the angle around 30–37°.
- Set the square on the board. Place the framing square on the stringer stock so the run measurement on the blade and the rise measurement on the tongue both touch the top edge of the board. Stair gauges (small clamps that lock onto the square at those numbers) make this repeatable.
- Mark the first step. Trace along both the blade and the tongue. That single L-shaped mark is one tread and one riser.
- Step it down the board. Slide the square along so it picks up exactly where the last mark ended, and trace again. Repeat for every step. Because the rise and run never change, each step is identical and the cut edge forms one continuous straight line — the staircase angle.
- Adjust the bottom step. Remember to subtract one tread’s thickness from the bottom riser so the finished steps all end up the same height once treads are installed.
Before you commit a cut, lay a phone or digital level along the line you’ve drawn through the step corners and confirm it reads the angle you intended. It’s a quick sanity check that catches a mismeasured rise or run before it becomes sawdust.
Quick reference and what to do next
The whole topic reduces to one relationship: angle = arctan(rise ÷ run), with comfortable stairs living between 30° and 37°. A few common pairings:
- 7” rise / 11” run → ≈ 32.5°
- 7.5” rise / 10” run → ≈ 36.9°
- 6.5” rise / 12” run → ≈ 28.4°
- 8” rise / 9” run → ≈ 41.6° (steep)
Measuring an existing staircase angle is the same skill as reading any slope — if you’ve checked a ramp or a roof, you’ll recognize the method in our guide to measuring slope and incline. And whether you’re confirming a finished flight or laying out a fresh stringer, you can measure the angle by resting your phone on the surface and reading the degrees, no triangle math required.
One last reminder: the angles here are about comfort and feel. Riser heights, tread depths, handrails, and headroom are governed by building codes that differ from place to place, so check your local building code before building anything permanent.
Frequently asked questions
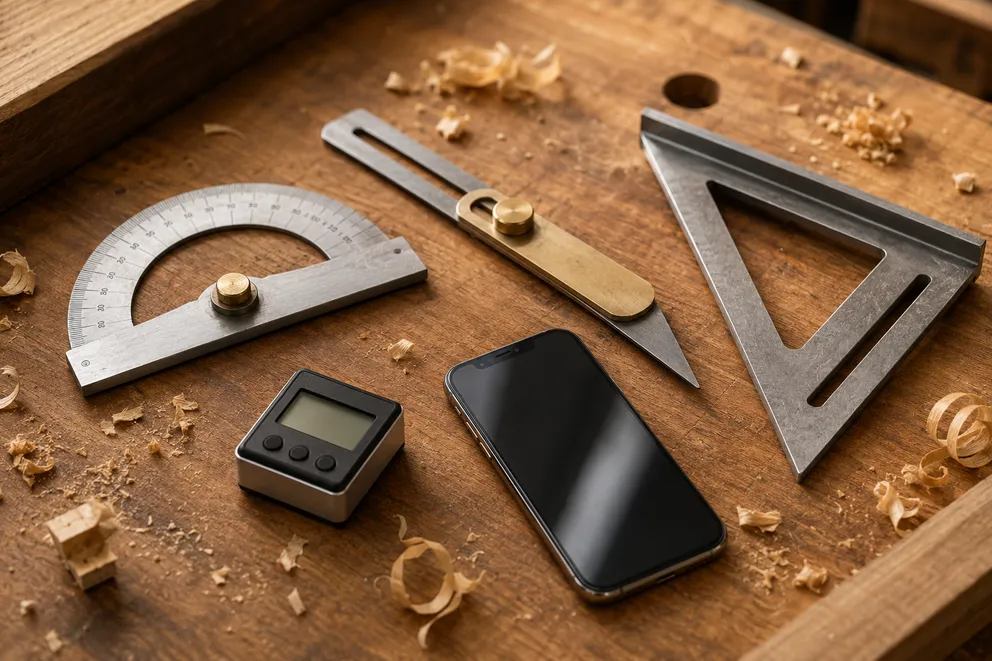
Angle Measuring Tools Compared: Which One Do You Need?
What each angle measuring tool does best — protractor, T-bevel, speed square, digital angle gauge, phone app, online protractor — and how to pick one.
How to Measure the Angle Between Two Walls
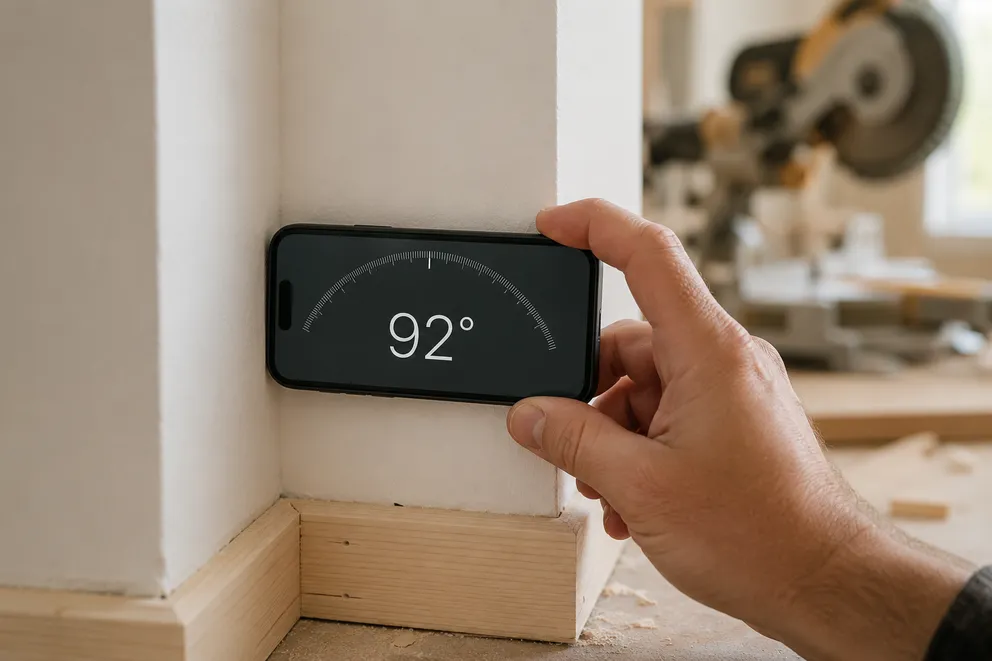
Three ways to measure the true angle between two walls — phone with zeroing, T-bevel and protractor, or camera mode — and turn it into the right miter cut.
Measure any angle,
right from your pocket.
Protractor turns your phone into a precision angle finder, level and inclinometer. Measure anything, anywhere.
Download the App